How to make AI dialogue sit inside the shot with EQ, reverb and a room match
Clean AI voices often sound pasted over the picture. Here is a four-step vocal chain that puts the voice in the same room as the character, in one editing session.
You have a good take and a good voice, and the two still do not belong together. The lips land, the performance reads, and yet the line sounds like it was recorded in a cupboard and played over a film of a cathedral. Generated and cloned voices tend to arrive dry, close and evenly bright, with no sense of distance and no sense of a room. Your picture says the character is across a kitchen, and your ear says she is an inch from a microphone.
The fix is not a better voice. It is a short, repeatable vocal chain that puts the dialogue in the space the picture shows. You do not need a sound designer or a plugin collection. The stock EQ, reverb and compressor in any editor or free audio workstation are enough, and the whole job takes about twenty minutes per scene the first time and a few minutes after that.
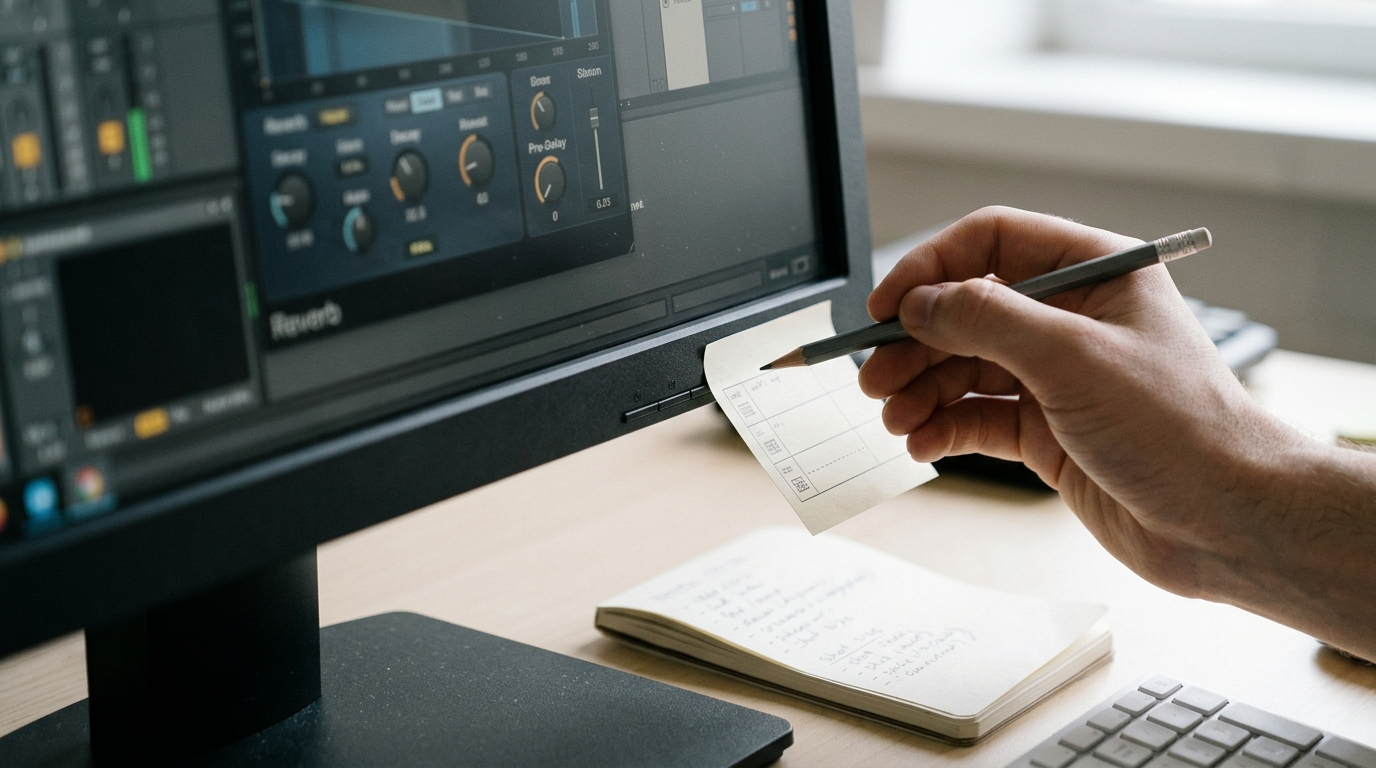
Step 1: Decide the distance before you touch a knob
Look at the shot size and write one line on a sticky note: close, mid or wide, and interior or exterior. That note drives every setting below. A close-up voice is dry, full and intimate. A wide shot voice is thinner, quieter and carries more room. If you skip this step you will mix by taste and every scene will drift.
Step 2: Strip the proximity and the hiss
Put an EQ on the dialogue track and apply three moves:
```
High-pass filter: 90 Hz (male voice) or 110 Hz (female voice)
Low-mid cut: 3 dB down around 250 to 300 Hz, wide Q
Presence: 2 dB up around 3 kHz only if the words smear
```
For mid and wide shots, also roll off above 9 kHz by a few dB. Distance removes top end, and this one move does more for realism than any reverb setting.
Step 3: Add the room, then hide it
Create a reverb on a send bus, not on the clip, so you control how much of the room each shot gets. Use a small room or plate preset and set these starting points:
```
Pre-delay: 15 to 25 ms
Decay: 0.4 s (small interior), 0.8 s (hall or stairwell), 0.2 s (car or cupboard)
Return level: start at minus 22 dB, raise until you notice it, then pull back 2 dB
```
The test is simple. Mute the reverb return and play the line. If you miss it, the level is right. If you do not miss it, add a little more. Reverb should be felt, not heard.
Step 4: Glue it to the ambience
Play the dialogue with your ambience bed running and check the noise floor. A perfectly silent voice under a busy room tone is the clearest tell of a pasted track. If the voice is too clean, route a touch of the room tone through the same reverb send. Then add a gentle compressor with a ratio around 3 to 1, aiming for two to three dB of gain reduction on the loudest words, so the voice does not leap out of the mix on the stressed syllables.
What you should hear
Before: the voice sits in front of the picture, identical in tone from the close-up to the wide, with a hard edge on every s. After: the wide shot sounds a step away from the lens and slightly roomy, the close-up stays warm and near, and the voice shares a noise floor with the scene. When you cut between the two, the dialogue changes with the shot size, the way recorded sound does on a real set.
Try this next
Pick one scene with a wide and a close-up of the same speaker. Build the chain once on the close-up, copy it to the wide, then make only three changes: lower the level, cut the top end, and raise the reverb return. Save both as presets named by shot size, and reuse them across the film.