How to stop your AI film feeling like a slideshow
If every shot in your film is the same distance from the subject, at the same height, with the same focal length, no edit in the world will rescue it. Here is how to build real shot variety into your AI production from the planning stage.
There is a specific kind of fatigue that sets in around the third scene of an AI film where every shot is a medium, framed dead-centre, at eye level, with a focal length that sits somewhere in the neutral 35-to-50mm range. Nothing is technically wrong with any individual image. The problem is cumulative: the camera never moves in terms of relationship to the subject, so the edit has no rhythm to build from. You are not cutting between perspectives. You are flipping between copies.
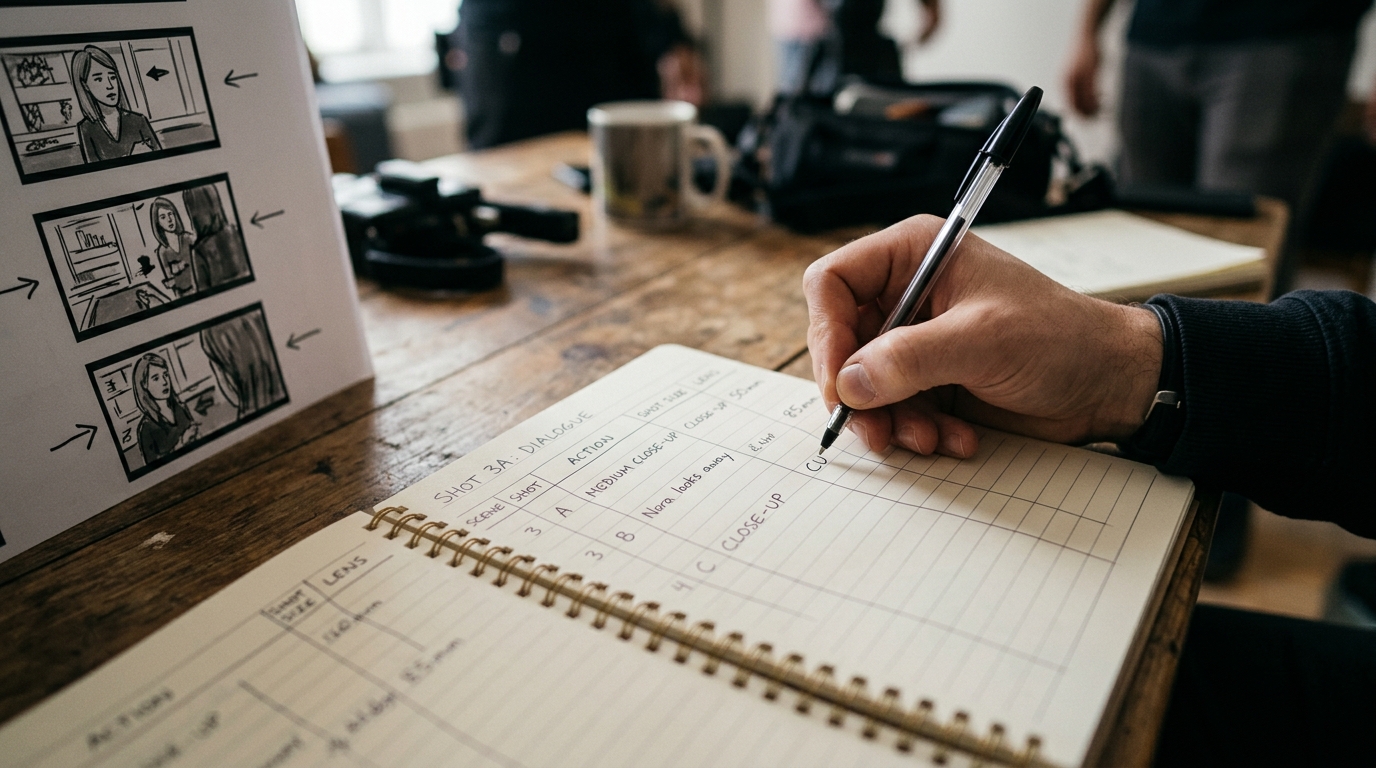
This is one of the most common structural problems in solo AI filmmaking, and it happens at the planning stage, not the generation stage. By the time you are writing prompts, the damage is already done if you have not thought about what a scene actually needs in terms of coverage. The fix is not a better prompt. It is a shot list written the way a camera operator would write one, applied before you open any generation tool.
Think in shot sizes first, then in angles, then in movement
Professional coverage is built around a simple hierarchy. You establish scale with a wide or establishing shot, you build intimacy with a medium or medium close-up, and you pay off emotion with a close-up or insert. The hierarchy is not rigid, but if your scene never moves through it, the edit will feel static no matter how much you cut.
Before you write a single prompt, write out the shot sizes you need for the scene. A minimal coverage plan for a two-minute scene might look like this:
```
SCENE 04 — COVERAGE PLAN
Shot A: Wide/establishing — full location visible, subject small in frame
Shot B: Medium — subject waist-up, environment still readable
Shot C: Medium close-up — shoulder-to-head, subject fills 60% of frame
Shot D: Close-up — eyes and upper face only, background compressed
Shot E: Insert — hands, object, or detail that earns the scene's meaning
Shot F: Reaction — second character or environment responding
```
You do not need to generate all six. But knowing they exist means you can choose which three or four serve the scene, and you will automatically vary your prompts to match.
Translate shot sizes into prompt language that models respond to
Models do not respond well to abstract descriptions of emotional scale. They respond to spatial and optical language. The translation from shot size to prompt is specific.
```
Wide/establishing:
"extreme wide shot, subject stands at far end of corridor,
full environment visible, shot on 24mm lens"
Medium close-up:
"medium close-up, framed from shoulders to top of head,
shallow depth of field, 85mm lens equivalent, background softly out of focus"
Close-up:
"tight close-up on face, eyes in upper third of frame,
135mm telephoto compression, background reduced to colour wash"
Insert:
"extreme close-up of hands turning a key in a lock,
macro detail, lens at near-minimum focus distance"
```
The focal length cue does the heaviest work here. A 24mm description tends to produce wider, more spatial images with visible environment. A 135mm description tends to produce compressed, intimate images with flattened backgrounds. You are not describing the model's internal optics. You are using cinematographic shorthand that the model has learned to associate with a visual outcome.
Vary camera height and axis, not just distance
Shot size is one axis of variety. Camera position is another. A medium shot at eye level and a medium shot at hip level are completely different images with completely different power dynamics. Build this into your coverage plan.
```
Camera height variations to rotate across a scene:
- Eye level: neutral, observational
- Low angle (camera at waist or below, tilted up): subject appears larger, more imposing
- High angle (camera above head height, tilted down): subject appears smaller, vulnerable, observed
- Dutch/canted (frame tilted 10-15 degrees): unease, instability
```
In your prompts:
```
"low angle medium shot, camera positioned at hip height looking up,
subject looms slightly against sky"
"overhead shot looking straight down, subject visible from above,
flat graphic composition"
```
Rotating height and angle across your coverage means that even if you are cutting between shots at similar sizes, the geometry of the space changes. The edit has something to work with.
The before and after
A scene planned without a coverage hierarchy generates four to six similar shots that you then try to cut together and find they sit beside each other without building. A scene planned with explicit shot sizes, focal length cues, and at least two different camera heights generates shots that have a spatial relationship to one another. The cut between a 24mm wide and an 85mm medium close-up already tells a story. The editor, which may be you, has a genuine choice to make.
For your next scene, write the coverage plan before you write the first prompt. Six lines is enough. Then check whether your prompt set covers at least three different shot sizes and two different camera heights. That is the floor, not the ceiling.