How to upscale and interpolate AI clips in the right order so the fix does not add new artefacts
Upscaling and frame interpolation can rescue a soft or choppy AI clip, or ruin it. The order you run them in, and where you stop, decides which.
You have a clip that is almost right. The performance works, the framing works, but the image is soft at full screen, or a fast pan stutters in a way you can feel without being able to name. So you throw an upscaler at it, then an interpolation tool, then perhaps the upscaler again, and the clip comes back looking waxy, with hair crawling and edges shimmering that were not there before.
The problem is rarely the tools. It is that each one amplifies whatever the previous step left behind, and most creators run them in whatever order they remembered. Interpolation invents in-between frames from the pixels it is given. Upscaling invents detail from the pixels it is given. Feed either one a flawed input and it will invent confidently on top of the flaw. The fix is a short, fixed chain and a habit of checking at each stage.
The order: clean, interpolate, upscale, grain
Run the steps in this sequence, and export a file after each one so you can compare.
```
1. Pick the take and trim the soft head and tail
2. Interpolate (only if the motion needs it)
3. Upscale to delivery resolution
4. Add grain at delivery resolution
5. Grade and conform in the edit
```
Interpolate before you upscale for a practical reason. Interpolation at a lower resolution is faster, so you can test several settings in one sitting. It also works on cleaner motion data when it is not tracking fine upscaled texture that may already contain small errors. Upscaling second means the upscaler sees a smooth, consistent run of frames, and it tends to treat neighbouring frames more consistently, which reduces shimmer on fine detail such as hair, foliage and fabric weave.
Grain goes last because upscalers smooth it away. Adding a fine, even film grain at delivery resolution hides the slightly plastic look that upscaled skin can have, and it unifies clips that came from different generations.
Decide whether interpolation is needed at all
Most current clips arrive at 24 or 30 frames per second and play fine at that rate. Interpolation earns its place in two cases only: a fast lateral pan or whip that visibly judders, and a slow-motion pass where you want to stretch a moment to half speed or slower.
For everything else, leave the frame rate alone. Interpolating a dialogue close-up to 60fps gives it the smooth, slightly cheap look of a television motion setting, and it will soften lip movement.
For slow motion, conform the clip to your 24fps timeline, slow it to 50 per cent, and let the interpolator generate the missing frames. Do not go below 40 per cent speed on shots with a face in them. Past that point you will see the mouth and eyes warp between real frames.
Check each stage on three things
After each export, scrub through at full size and look at the same three places:
- Hands and fingers during movement. Interpolation tends to smear or merge them.
- Hair and fabric edges against a plain background. Upscalers make these crawl.
- Any text or fine pattern, such as a shirt stripe or a window grille. These shimmer first.
If stage two introduces a problem, go back to stage one and try a lower interpolation strength or a different tool setting. If you cannot fix it, use the original frame rate and cut on the pan instead of through it.
What you should see
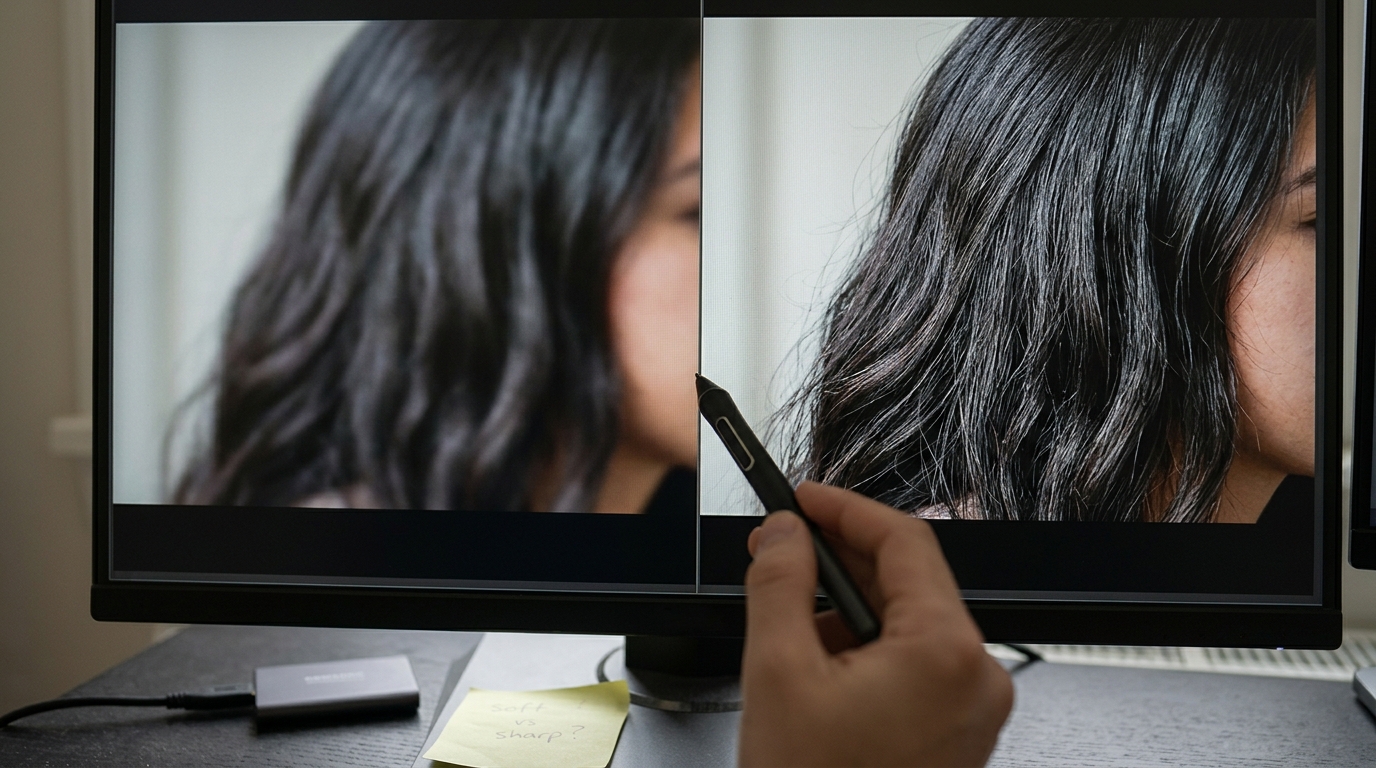
Before, with the scattershot approach: a clip that is sharper in stills but alive with crawling edges, and motion that looks either choppy or glassy. After, with the fixed chain: a clip that holds still where it should, with natural motion blur on movement, hair that stays put between frames, and a consistent fine grain that sits across every shot in the scene.
Try this next
Take one shot that you have been avoiding because it looks soft or stuttery. Run it through the chain above, exporting after each step, and put the four files on a timeline stacked on four tracks. Toggle between them at full screen and note which step helped and which did not. Write the settings that won on a sticky note and reuse them on the rest of the scene.