How to plan lens and camera height for every shot before you write a single AI prompt
Most AI scenes look flat because every shot sits at the same eye-level, mid-distance, medium-lens default. Assign a lens and a camera height to each shot on paper first, then translate both into plain prompt language.
You write a scene of six shots, generate them one by one, and when they land in the timeline they all feel like the same shot. The subject is centred, the camera sits at roughly head height, the perspective is neutral and the background has the same polite softness every time. Each clip is fine alone. Cut together, they have no rhythm, because nothing about the viewpoint changes from one to the next.
This happens because an unspecified prompt gets you the average of everything the model has seen: eye-level, medium focal length, subject in the middle third. Real cinematographers avoid this by deciding lens and camera height before they roll. You can do the same on paper in ten minutes, and the decisions carry straight into your prompts.
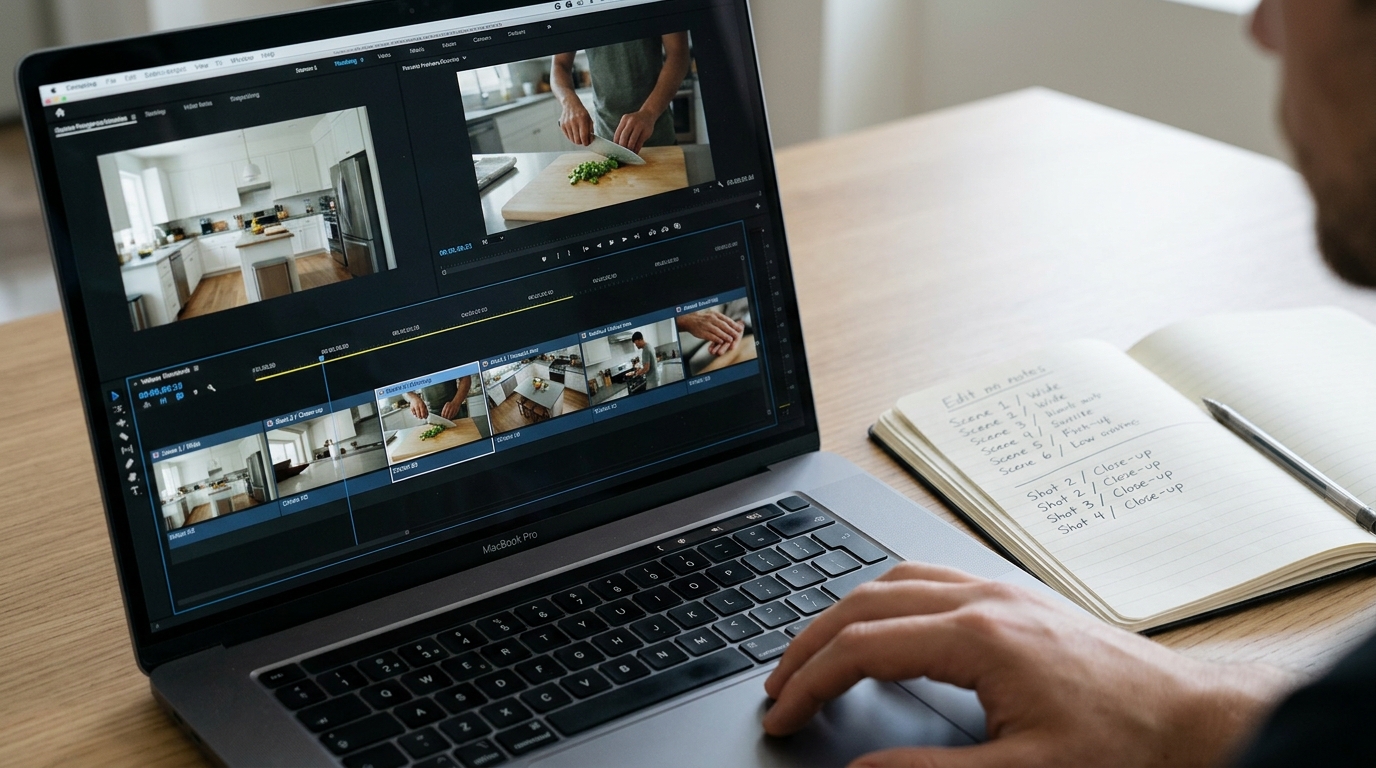
Build a two-column shot plan
Open a blank note or spreadsheet. For each shot in the scene, write the story beat, then fill two columns: lens and height. Keep the vocabulary small so you can reuse it.
Lens options that models respond to reliably in plain words:
- Wide, about 24mm: room visible, strong perspective, subject small against the space.
- Normal, about 35 to 50mm: natural proportions, the default for dialogue.
- Long, about 85 to 135mm: compressed background, flattened depth, isolated subject.
Height options:
- Low, knee or waist level, tilted up: adds weight and authority.
- Eye level: neutral, use it deliberately, not by accident.
- High, above head, tilted down: makes the subject exposed or small.
A plan for a kitchen argument might read:
```
Shot 1 | establishing, she waits | 24mm, chest height, static
Shot 2 | his entrance | 35mm, low, looking up at doorway
Shot 3 | her reaction | 100mm, eye level, tight on face
Shot 4 | the table between them | 50mm, high angle, tilted down
```
Translate each row into prompt language
Put the lens and height at the start of the camera clause, not buried at the end, and name the visible effect as well as the number. Numbers alone are loosely followed. The effect is what shows on screen.
```
Shot 3: Close-up of a woman in her fifties at a kitchen table, shot on a
100mm lens at eye level, background compressed into a soft blur of
cupboards, her face fills the right two thirds of frame, static camera.
```
Compare that with the row for shot 2:
```
Shot 2: Low-angle shot from knee height looking up at a man entering
through a doorway, 35mm lens, ceiling visible above him, door frame
converging slightly, static camera.
```
Keep your continuity description block identical in both prompts so the character and room stay consistent while only the viewpoint changes.
The rule that keeps the plan honest
Never give two consecutive shots the same lens and the same height. If shot 3 is a 100mm eye-level close-up, shot 4 must change at least one of those. That single rule forces the contrast your edit needs and costs you nothing.
What you should see
Before: six clips at similar framing, where every cut feels like a jump between near-duplicates and you reach for dissolves to hide it. After: the wide establishes the room, the low angle gives the entrance weight, the long lens isolates the reaction, and the high angle reads as a change of mood. Cuts land on a visible change of viewpoint, so they feel motivated without any extra effects.
Expect some drift. A model may give you 50mm when you asked for 35mm, and that is acceptable if height and compression still contrast with the neighbouring shots. Judge each take against its neighbours, not against the number.
Try this next
Take your next scene, write the two-column plan before opening any generator, and apply the no-repeat rule to every adjacent pair. Generate only the shots in the plan, then cut them together and check whether you still reach for a dissolve.