Why your AI film feels slow even when nothing goes wrong
AI-generated footage tends to produce shots that breathe too long, move too smoothly, and land too softly. The problem is not the model. It is how editors treat AI clips differently from real footage, and here is how to fix it.
There is a specific feeling that AI-generated films produce in their audience: a kind of pleasant, sleepy drift. The images are often beautiful, the motion is fluid, and absolutely nothing grabs you hard enough to lean forward. If you have screened your own work and felt that heaviness, you are not imagining it. The footage itself is doing something structurally different from what your eye expects from film, and the edit needs to compensate deliberately.
The core issue is that AI video models generate clips in isolated, self-contained units. Each clip is complete. The motion resolves. The subject settles. There is no off-screen energy, no interrupted action, nothing that spills across a cut. Real cinematography is full of incomplete gestures, actors mid-breath, cameras still decelerating when the cut happens. That incompleteness is what pulls a viewer through an edit. Without it, you are stacking finished paintings and wondering why the gallery feels lifeless.
Cut earlier than feels comfortable
Your instinct on AI footage is to let the clip finish. Resist it. The moment a clip reaches its visual resolution, which you will recognise as the point where the motion settles and the composition locks into a held frame, the viewer's attention begins to decay. Cut two to four frames before you think the shot is done. This is not a rule of thumb; it is something you can measure by playing the rough cut and noting where your eye begins to wander. That moment is approximately where the previous cut should have landed.
In practice, this means trimming your out-point back until the clip feels slightly truncated, then watching the sequence at full speed. If the cut now feels abrupt in a way that draws attention to itself, you trimmed too far. If it feels propulsive without being jarring, you are in the right place. Start there and iterate.
Use duration to control perceived shot scale
One of the structural habits from traditional editing that transfers directly: shot scale and screen time should correlate inversely as drama intensifies. Wide establishing shots can hold longer. Close-ups in a tense sequence should be shorter than they feel in isolation. AI footage tends to arrive in clips of similar duration regardless of the shot scale you prompted, because generation length is usually set at clip level, not drama level. You will often find yourself holding a tight close-up for four seconds when one and a half would have been enough.
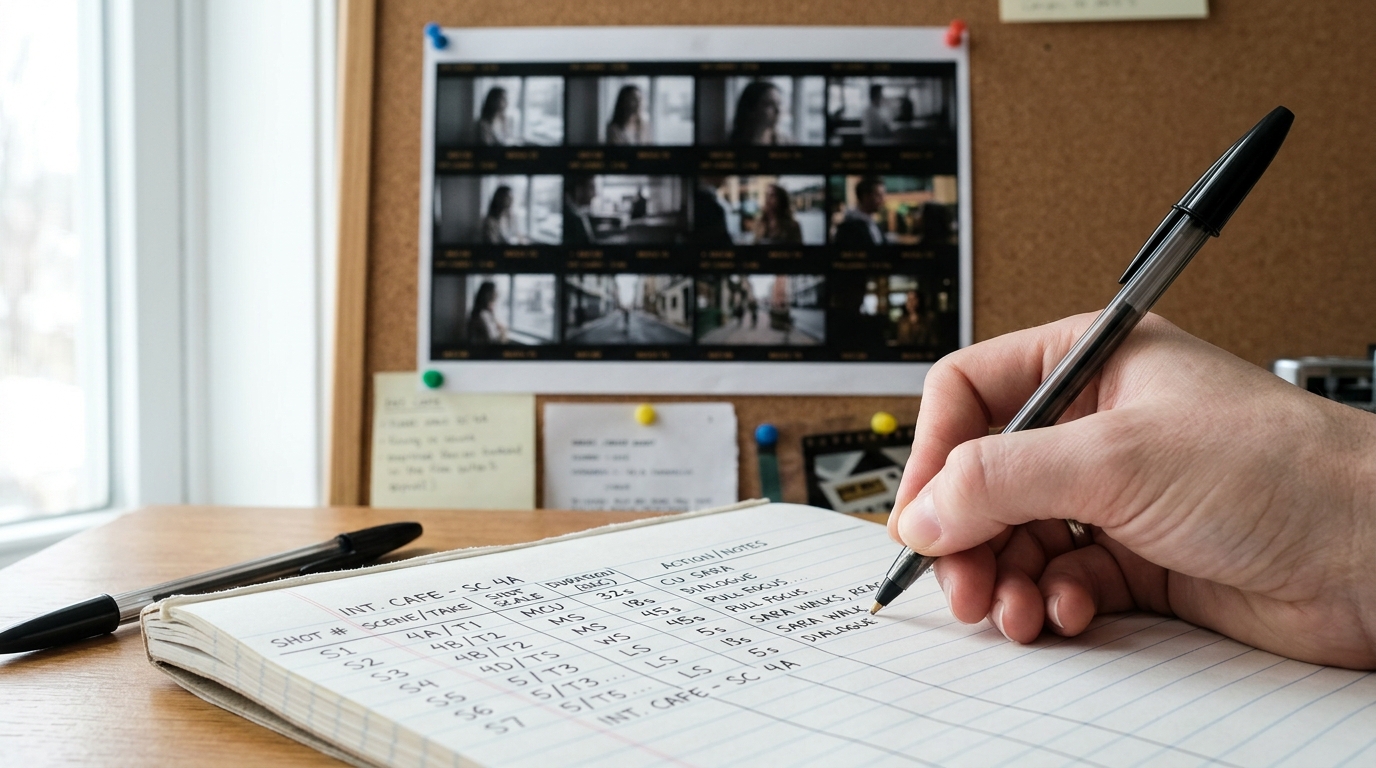
Build a simple cut log for your sequences. Note the shot scale (WS, MS, MCU, CU, ECU) and the duration of each cut. If your close-ups are consistently longer than your wides in an action or dialogue sequence, the sequence will feel padded regardless of how good the individual clips are.
```
CUT LOG (example, dialogue sequence)
Shot 01 | MS - SPEAKER A | 2.8s
Shot 02 | CU - SPEAKER B | 1.4s
Shot 03 | MCU - SPEAKER A | 2.1s
Shot 04 | ECU - hands | 0.9s
Shot 05 | MS - both | 3.2s
Rule of thumb: CU and ECU should be <= 60% of surrounding MS duration
in a tense sequence. Relax the rule for reflective or slow scenes.
```
Introduce motion discontinuity deliberately
Because AI clips are motion-complete, cuts between them can feel like a series of tableau. One technique from documentary and action editing that helps: cut on a direction change. If one clip has motion moving screen-right and you cut to one moving screen-left, the collision creates forward energy. If you cut to another clip moving screen-right at similar speed, the edit disappears and the pacing softens.
This is not always available to you in AI footage, but you can plan for it at the prompt or shot-list stage by alternating implied motion direction between consecutive shots. If you are working with existing clips, look for the moments within a clip where the subject changes direction, however briefly, and cut on that frame.
Match cut to rhythm, not to the beat
If you are cutting to music, cutting on the downbeat is comfortable and safe. It is also what makes AI films feel like mood reels. Try cutting one or two frames before the beat rather than on it. The edit lands on the anticipation rather than the resolution, which adds urgency. This is an old trick from music video editing and it is completely invisible to viewers while being felt as energy.
Alternately, try cutting across the bar structure: a series of cuts that do not align with any musical beat at all for four to eight seconds, then land hard on a significant beat. The contrast between the floating and the anchored cut is more dramatic than either approach sustained throughout.
The before and after
A rough cut assembled from AI footage at natural clip durations, cut on visual resolution, and timed to downbeats will feel polished but inert. The same clips trimmed two to four frames early, sequenced with attention to motion direction, with close-up duration actively reduced and at least some cuts placed just ahead of the musical beat, will feel driven. The footage has not changed. The experience of watching it has.
Take your next sequence and export two versions: one from your current cut, one where you apply only the early-trim rule across every clip. Screen them back to back and note which moment in the second version first makes you feel the difference.