How to build a keyframe-to-motion pipeline when no single model does everything
When one model nails the look but fumbles the movement, and another moves beautifully but ignores your art direction, the answer is not to compromise. It is to chain them.
You have spent forty minutes getting a still image that looks exactly right. The light is where you want it, the subject reads clearly, the mood is specific rather than generic. Then you feed it into a video model and the resulting clip either holds the frame almost perfectly and adds the barest whisper of motion, or it moves with genuine energy but ignores everything you cared about in the image. That is the central frustration of AI filmmaking right now, and it is not a bug you can prompt your way out of. Different models have different strengths, and the gap between what a great image model produces and what a motion model will honour is real.
The solution that working AI filmmakers have settled on is not finding the perfect single model. It is treating image generation and motion generation as two separate jobs, done by two separate tools, joined deliberately in the middle. This is a pipeline approach: you control each stage independently, which means you can swap out any stage when a better model arrives without rebuilding the whole thing. Here is how to build that pipeline in a single sitting.
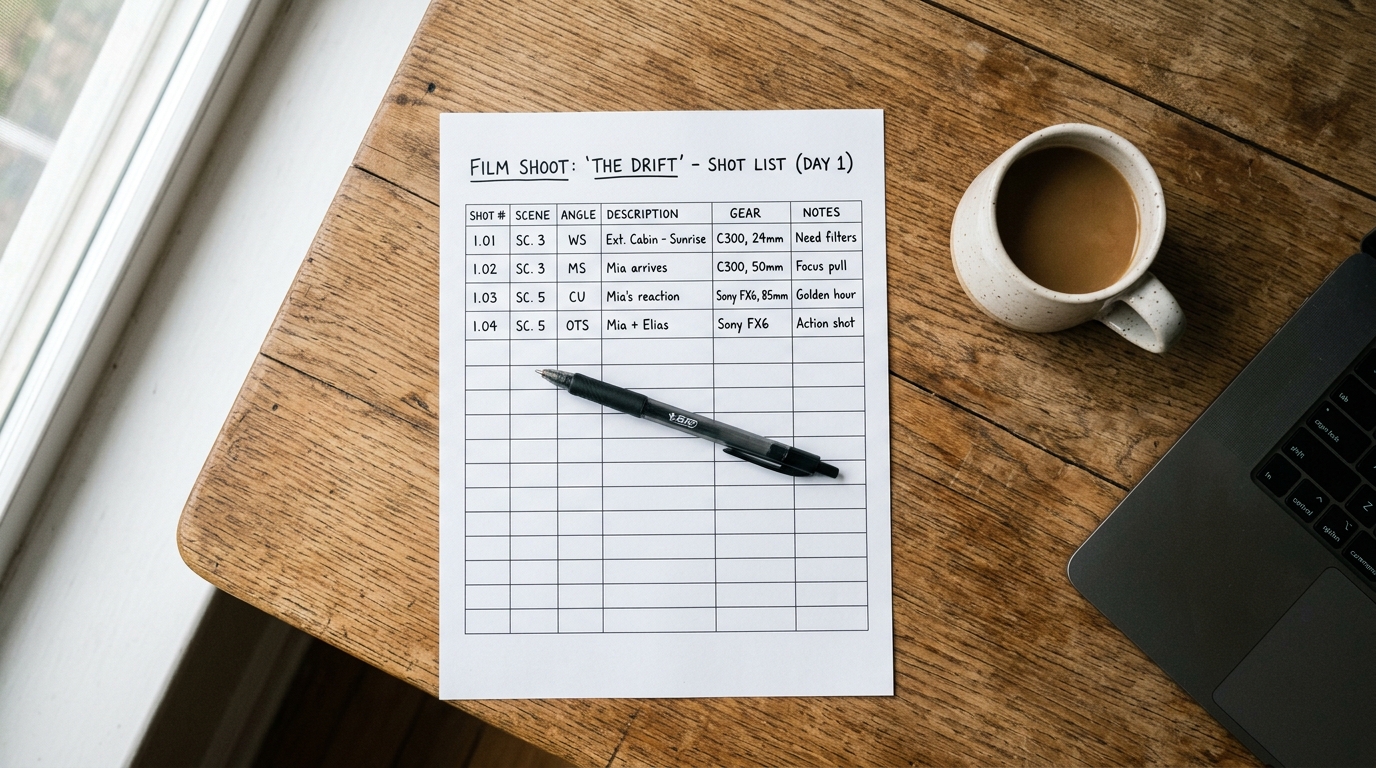
Stage one: lock your keyframe in an image model
Your keyframe is the single frame that defines the shot. It carries the colour temperature, the framing, the character's expression, the depth relationship between foreground and background. Treat it like a film still, not a test render.
When generating this frame, think in cinematographic terms. Decide the lens first: a longer focal length compresses depth and isolates a subject, a wider one exaggerates perspective and implicates the environment. Write that into your prompt explicitly.
```
Film still, anamorphic 85mm, shallow depth of field, woman in her 50s
sitting at a cluttered kitchen table, morning, overcast window light
from camera left, hands wrapped around a ceramic mug, direct eye contact,
film grain, muted warm palette, no vignette
```
Generate several variations, then pick by asking one question: does this frame tell me what the scene is about before anything moves? If yes, export it at the highest resolution the model offers.
Stage two: write your motion brief before you open the video model
This step takes four minutes and saves twenty. Before you upload your keyframe anywhere, write down the motion you want in plain language. Be specific about three things: what moves, how fast, and what stays still.
```
Motion brief:
- Camera: slow push in, almost imperceptible, over 6 seconds
- Subject: small hand movement, mug tilts slightly, no head turn
- Background: static, no parallax drift on the window
- Atmosphere: no wind in hair, no steam particle system, no lens flare
```
The brief serves two purposes. It forces you to be precise before the model asks you to be, and it gives you a pass/fail checklist when you review the output. Without it, you will accept clips that are close but not right, and that vagueness accumulates across a project into footage that feels incoherent.
Stage three: feed the keyframe into your motion model with a leashed prompt
When you upload your keyframe to a video model, your image prompt is doing half the work and your text prompt is doing the other half. The text prompt should not re-describe the image. It should describe only what changes.
```
Very slow camera push in. Subtle hand movement, mug shifts slightly.
No camera shake. Hold the framing. Low motion intensity overall.
```
Keep the text short. Long re-descriptions of the image content often cause the model to drift from the keyframe because it is now trying to satisfy two competing sources of instruction. Short motion-focused prompts let the image do its own job.
If the model offers a motion intensity or creativity slider, start at the lower end. You can always regenerate with more motion. You cannot recover a clip where the model has abandoned your keyframe entirely.
Stage four: review against your brief and decide what is fixable in the edit
Play the clip back against your motion brief. Mark each item: pass or fail. If the camera move is right but the subject's hand motion is wrong, that might be correctable in post with a subtle crop and retime. If the model has shifted the colour temperature or changed the subject's face, that is a regeneration call, not an edit call.
The pipeline advantage shows up here. If you regenerate, you are only regenerating the motion stage. Your keyframe is already locked. You do not restart from scratch.
For clips where the motion is acceptable but the overall image has drifted slightly from your keyframe, a simple colour match in your editing software against a frame-grab from the original image will often pull it back. Export a still from frame one of the video clip, load both into your colour tools, and match the video to the still on luma and saturation.
Stage five: build a take library, not a single output
Run at least three generations of each shot before you commit. Name them by shot, then take number: `kitchen_mug_T1.mp4`, `kitchen_mug_T2.mp4`, `kitchen_mug_T3.mp4`. This takes an extra four minutes per shot and it will save your edit. The best take is rarely the first one, and having three options means you can choose the one that cuts best with the surrounding shots, not just the one that looked fine in isolation.
The whole pipeline, start to finish on a single shot, runs to around twenty minutes once you have done it twice. The keyframe stage, the brief, the motion prompt, the review, the take library. What it produces is footage that looks like it was planned, because it was.
Try it on one shot from a project you already have in progress. Pick the shot where the movement has bothered you most, lock a new keyframe from scratch, write the brief before you touch the video model, and see whether the output changes.