How to chain a voice model into a lipsync model for dialogue that actually holds up on screen
Dialogue is where most AI films fall apart. This pipeline walks you through generating performance-grade voice audio, then driving a lipsync model from it, so your characters speak with timing that survives a close-up.
Dialogue scenes expose every weakness in an AI film simultaneously. The mouth moves slightly off the word. The performance feels flat because the voice was generated without breath or pacing in mind. The lipsync model receives a clean, over-compressed audio file and produces movement that looks mechanical rather than lived-in. Most solo creators hit this wall and either cut away before the character speaks, or accept the result and wonder why the film feels hollow. Neither is necessary once you understand that voice generation and lipsync are two separate craft decisions that have to be made in sequence, each one setting up the next.
The core problem is that creators tend to generate voice audio as an afterthought, export it immediately, and drop it into a lipsync tool without checking what the audio is actually doing. The lipsync model is reading the waveform. If the waveform is monotone, over-normalised, or missing the small pauses and breath sounds that mark real speech, the resulting mouth movement will be stiff. The fix is not a better lipsync model. It is a better audio file going in.
Step one: generate voice with performance baked into the prompt
Whatever text-to-speech or voice model you are using, your script is not enough. You need to write a delivery note alongside the line. Think of it the way a director speaks to an actor before a take: not just what to say, but the internal state, the tempo, the place in the sentence where weight lands.
For a voice model that accepts natural-language style instructions, write your input like this:
```
Line: "I told you not to come back here."
Delivery: low volume, measured pace, slight pause after "told", emphasis on "here" not on "back", tired rather than angry, end the line with breath audible before cut.
```
If your voice model accepts only the text itself, use punctuation and spacing to shape timing. A comma forces a micro-pause. An ellipsis holds longer. Splitting a sentence across two generation calls and editing them together in your DAW gives you control over the gap between phrases that a single generation rarely gives you.
Generate two or three takes at slightly different temperature or variance settings if your model exposes them. Listen back and pick the one where the pauses feel unscripted. That is the file you move forward with.
Step two: prepare the audio file before it touches the lipsync model
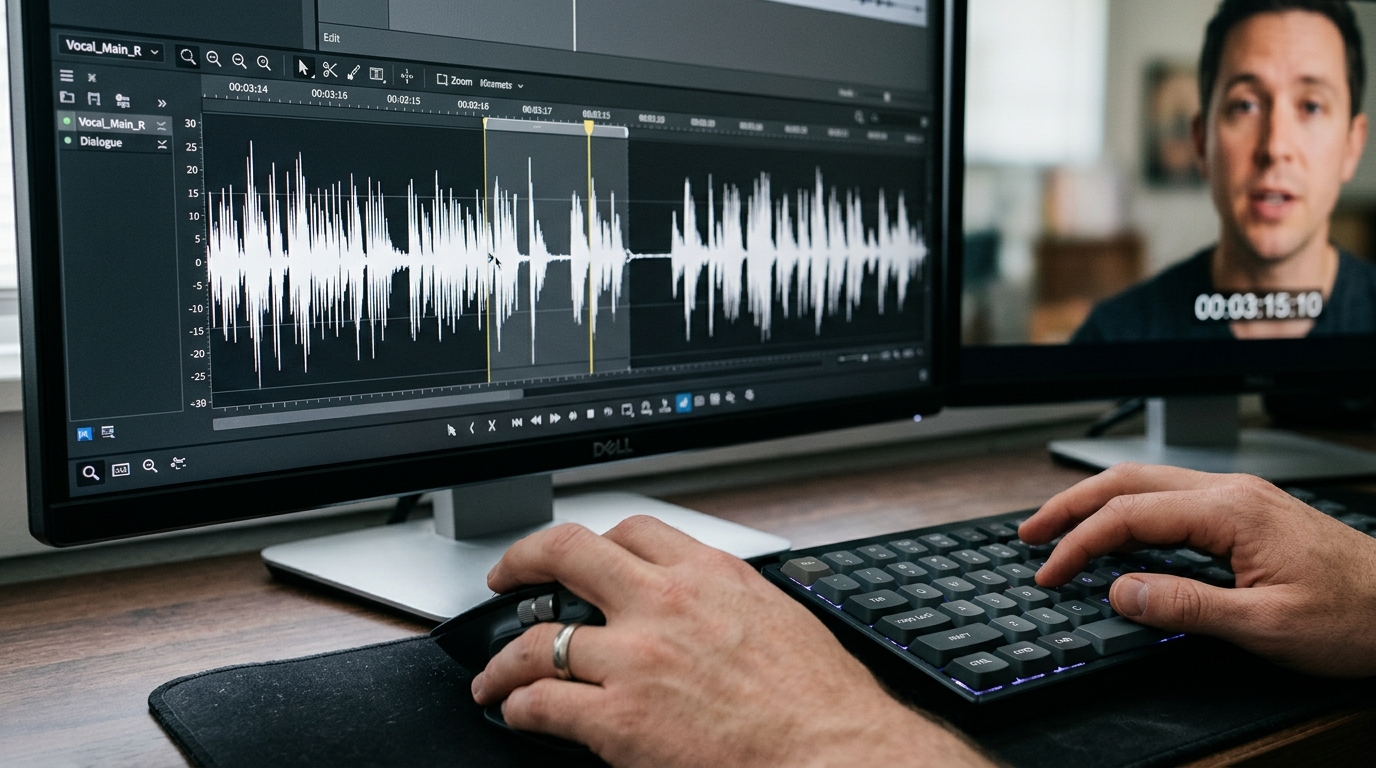
This step is skipped almost universally and it is the single biggest reason lipsync looks wrong. Open the voice audio in any DAW or even a free editor like Audacity.
Do three things:
1. Do not fully normalise. A lipsync model reading a fully normalised file sees every syllable at roughly equal loudness. Real speech has a dynamic range of around 20 dB between a stressed vowel and an unstressed syllable. Leave that range in. Aim for peaks around -6 dBFS, not -1.
2. Keep breath sounds. If your model generated an inhale before the line or a small exhale at the end, leave it. The lipsync model will read those moments and produce a closed or barely-open mouth, which looks correct and natural on screen.
3. Check for room tone or silence between words. Complete digital silence between words reads as a hard cut to a lipsync model. Add a very short low-level noise floor (even -60 dBFS room tone) to the gaps so the model sees continuous signal.
Export at the highest quality the lipsync model accepts, typically 48 kHz 16-bit WAV.
Step three: choose the right source frame for the lipsync model
The lipsync model needs a face to drive. The quality of that source image or video clip determines how much the model has to interpolate. A soft, compressed, or low-contrast face gives it less to work with.
If you are driving lipsync from a still image, use the sharpest, most neutrally-lit face frame you have. Avoid frames where the mouth is already open wide or where the face is at a steep angle. A near-frontal, mouth-closed or slightly-parted frame gives the model the most room to move across the full phoneme range without hitting deformation limits.
If you are driving from a video clip, trim to only the duration of the line plus one second either side. Longer clips increase the chance of drift and temporal artefacts mid-word.
Step four: review output at full resolution before you cut
Play back the lipsync output at full resolution, not in a compressed preview. Watch the frame immediately before the character begins to speak. If the mouth starts moving one or two frames before the audio, the model has anticipated the onset of sound and you need to trim those frames in your editor. This is common and easily fixed with a two-frame cut at the head of the clip.
Watch for consonants, specifically bilabials: B, P, M sounds. These require the lips to close fully. If they do not close on your output, the audio file's dynamic range is probably too compressed. Go back to step two.
What the before and after looks like
Before this pipeline: voice generated from script text alone, normalised, dropped directly into the lipsync tool, played back over a mid-shot. The result is a character whose mouth moves continuously at roughly the same scale regardless of which part of the word is playing, with no visible breath or pause.
After: pauses land where they should, stressed syllables produce wider mouth movement, the lips close on bilabials, and the breath at the end of the line produces a visible small mouth movement that reads as natural hesitation or finish. In the edit, that close-up holds for a full beat longer because it earns it.
For your next session, take one line of existing dialogue you were not happy with, rewrite the delivery note, generate two takes, apply the three audio preparation steps, and compare the lipsync output against your original. The difference will be in the pauses.