How to build a colour pipeline that makes AI footage look like it was shot on the same day
AI clips from different models or sessions rarely match. Here is how to run a proper colour pipeline, using today's generation tools and a grade pass, so your film reads as one continuous world.
Every AI filmmaker hits the same wall roughly halfway through an edit. You have twenty clips, they were generated in two or three separate sessions, some were upscaled and some were not, and when you drop them all onto a timeline the film looks like a ransom note. The sky is a different blue in every other shot. Skin tone lurches between amber and grey. One clip has the fine-grain, slightly desaturated quality of a bleach bypass, and the clip immediately before it looks like a Saturday morning cartoon.
This is not a prompting problem and it is not a model problem. It is a pipeline problem, and it has a repeatable fix. Professional colourists deal with a version of this constantly, matching footage from different cameras, different days, different lighting conditions. The discipline they use translates almost exactly to AI footage, and you can run the whole thing inside DaVinci Resolve Free in a single afternoon.
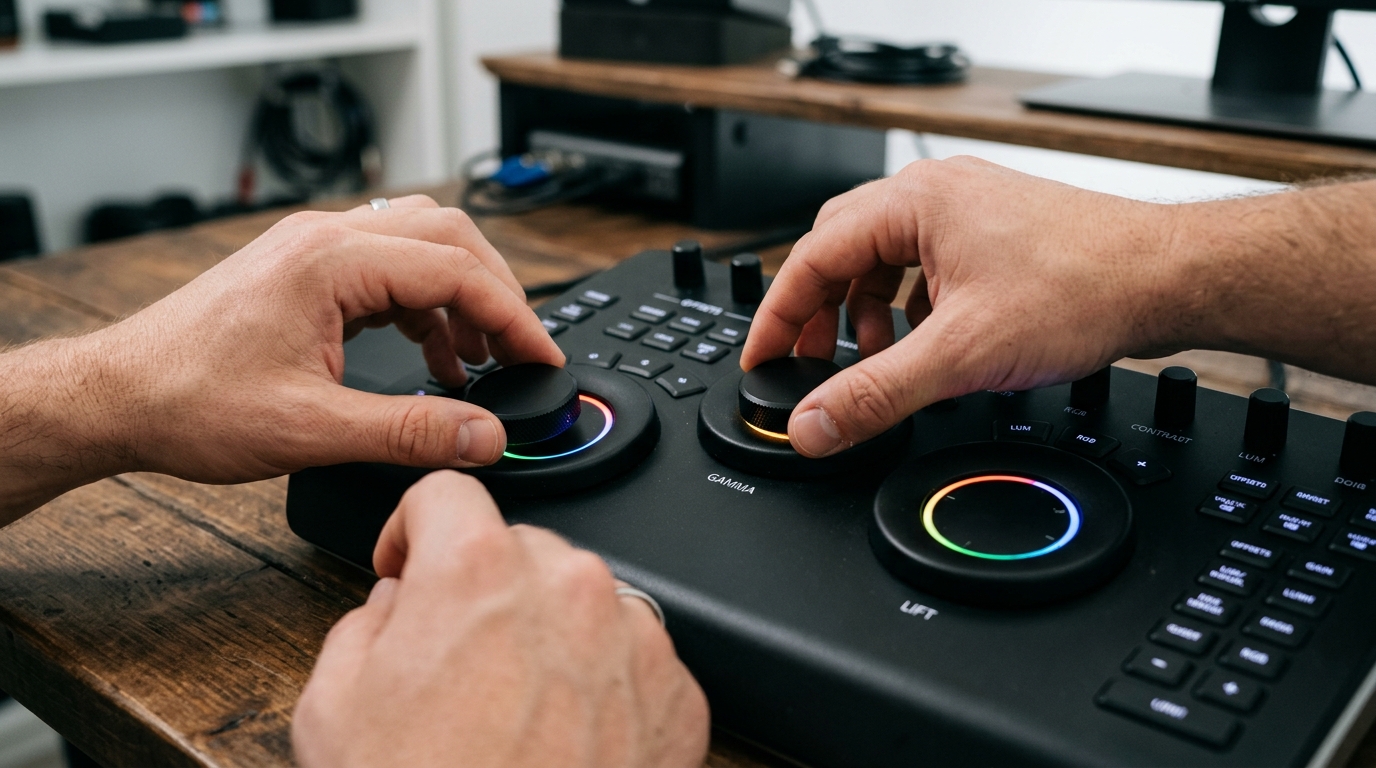
Step one: offline before you grade
Before you touch a single colour wheel, watch your full cut and mark every clip with a rough note: warm, cool, neutral, or blown. Do this on a reference monitor or, at minimum, a calibrated browser window at a consistent brightness. You are building a map, not yet making decisions. In Resolve, drop a Text+ title at the edit point of each clip with your one-word label and put it on a track above picture. This takes ten minutes and saves an hour of backtracking.
Step two: choose one clip as your scene anchor
For each scene, pick the clip with the most neutral, well-exposed image as your anchor. This is usually a mid-shot or wide with an even sky or wall behind the subject. Whatever grade you apply to this clip first becomes the reference that all other clips in the scene must match.
In Resolve, right-click the anchor clip and select Grab Still. That still sits in your Gallery and you can wipe it against any other clip in the scene throughout the session.
Step three: normalise before you stylise
This is the step most solo creators skip entirely. Before applying any creative look, every clip needs to be brought to a neutral baseline. In Resolve, this means:
```
For each clip:
1. Add a Serial Node (Alt+S) labelled NORMALISE
2. Open Scopes: Waveform + Parade
3. Use Lift/Gamma/Gain (not the wheels yet) to bring:
- Blacks to roughly 0 on the waveform
- Whites to roughly 1023
- Parade R/G/B channels to roughly equal amplitude at grey patches
4. Do NOT touch Saturation at this stage
```
AI footage often has lifted blacks because generators tend to avoid pure shadow detail. Bringing blacks down to a consistent floor before grading is the single change that makes a cut feel most unified.
Step four: use a LUT as a starting point, not a finish line
Apply a shared base LUT to every clip in your project. A free, neutral film emulation LUT (the Kodak 2383 print emulation distributed freely via numerous colour forums, or any of the free Cinematic LUT packs from Ground Control Colour) gives every clip a shared tonal language before you touch per-clip adjustments. Apply it on a second serial node labelled LOOK, after your NORMALISE node.
The LUT is a starting point. Its job is to make every clip speak the same tonal dialect. Individual differences still need manual correction on a clip-by-clip basis, but the range of correction shrinks significantly once everything shares a base.
Step five: match skin and sky, in that order
For any clip with a human subject, open the Colour Match tool (Colour menu, Colour Match) and point it at your anchor still from the Gallery. Run the match on Shadows/Midtones/Highlights. Then use the Qualifier to isolate skin tone and nudge hue rotation no more than 3-5 degrees if the result still feels off. Do not chase perfect skin tone on every clip. Chase consistent skin tone, which is a different target and a more achievable one.
For sky, use a Power Window, track it if the sky moves, and bring its saturation and luminance into range with the anchor clip. AI skies are often over-saturated relative to foreground elements. A 10-15 point saturation reduction on an isolated sky window is almost always an improvement.
Step six: add noise last
AI footage from current generators tends toward either over-smoothed texture or inconsistent synthetic grain. After your grade is locked, add a single Film Grain node (Effects Library, Resolve FX Texture, Film Grain) to the timeline-level node graph, not to individual clips. Grain added at the timeline level sits on top of everything and acts as a unifying texture layer. Keep grain size small (1-3) and strength low (8-15). The point is not visible grain, it is the slight roughening that stops the cut from reading as a series of disconnected images.
What you should see
Before this pipeline, clips from different sessions look like different films edited together. After it, the eye moves through the cut without pausing to register tonal discontinuity. The grade does not need to be invisible in the artistic sense. It just needs to be consistent, and consistency is a technical problem with a technical solution.
Try it first on a two-scene sequence, six to eight clips. The full workflow above should take under two hours for that length of material, and the difference will be visible on the first playthrough.