How to match colour across AI clips so a scene feels shot on one camera
Every generation drifts in white balance, contrast and saturation. Here is a repeatable grading order that makes six different clips read as one camera and one afternoon.
You generate six shots for one scene, same location, same character, same time of day in the prompt. You drop them on the timeline and the cut jumps. One clip leans green in the shadows, the next is a half stop brighter, a third has skin that is visibly more saturated. Nothing is wrong with any single shot. Together they look like six different cameras operated by six different people.
The usual response is to regenerate until the clips happen to agree, which burns credits and rarely works, because every generation makes its own decisions about white balance and contrast. The fix belongs in the edit. A fixed grading order, applied the same way every time, will get you most of the way there in about twenty minutes per scene.
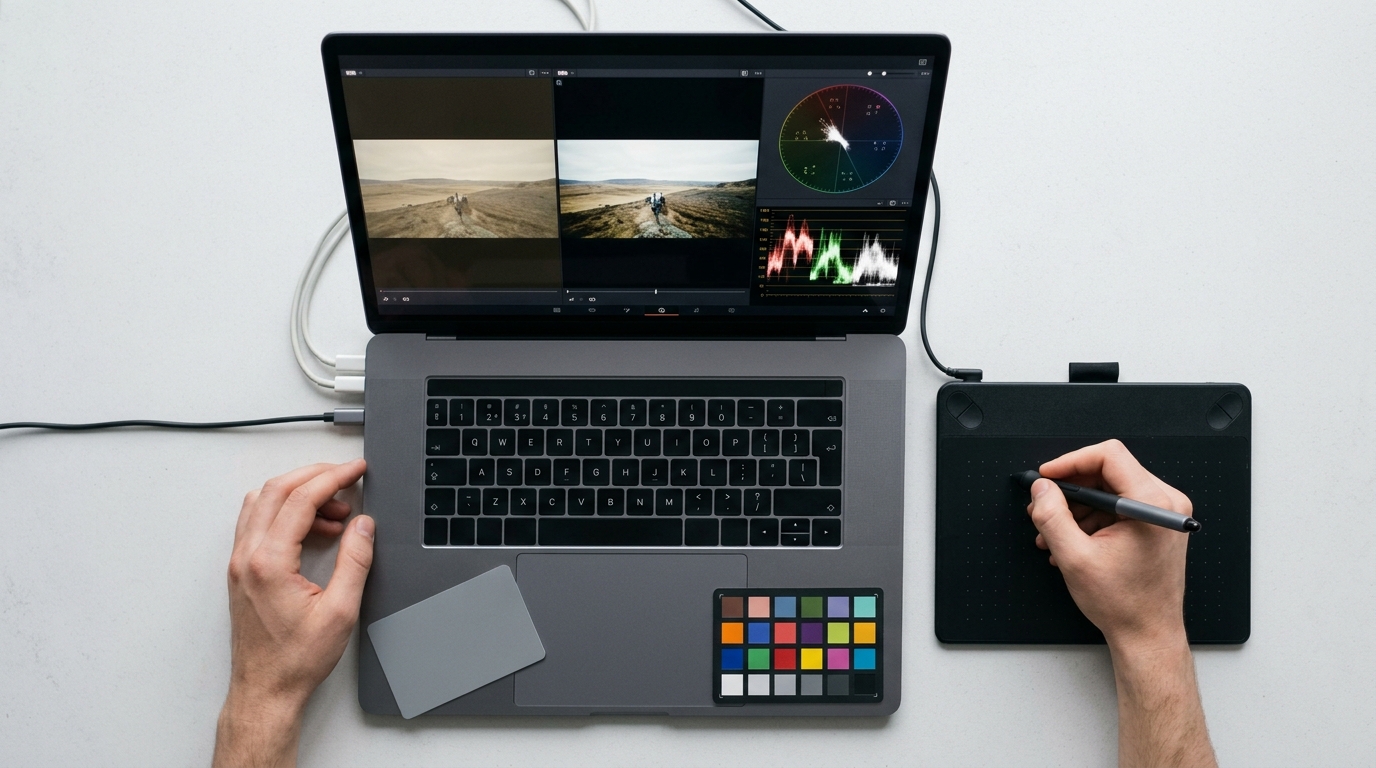
Pick a reference frame first
Before touching any slider, choose one frame from the scene that you like and that has a neutral anchor in it: a white shirt, a grey wall, a patch of skin in open light. Export it as a still and put it on a second video track above your clips, or in a side-by-side reference viewer if your editor has one. This is your reference. Every other clip gets matched to it, not to each other.
Pick a mid-scene medium shot, not the establishing wide. Wides tend to carry more sky and background colour, which pulls your judgement away from the skin and the subject.
Grade in this order
Work the same sequence on every clip. Changing the order is how you end up chasing your own corrections.
```
1. Exposure Set the midtones so the subject's face sits at the
same brightness as the reference.
2. Contrast Match the black point first, then the white point.
Blacks that lift into grey are the most common tell.
3. White balance Use the neutral anchor. Adjust temperature, then tint.
4. Saturation Pull the clip's overall saturation to match, then
correct skin alone if it still sits apart.
5. Look Apply one shared grade or LUT on an adjustment layer
over the whole scene, last.
```
The shared look goes on top, after the matching. If you apply it first, you are grading on top of differences that the look then exaggerates.
Use the scopes, not your eyes
Your eye adapts within seconds and will tell you two clips match when they do not. Open the waveform and the vectorscope. On the waveform, check that the black floor and highlight ceiling of each clip land at roughly the same levels as the reference. On the vectorscope, find the skin tone line and check that each clip's skin cluster points along it, at a similar distance from the centre.
If one clip's skin sits off the line toward green or magenta, fix that with tint before you touch anything else. Skin that drifts is the first thing an audience reads as a cut that does not belong.
Add grain last, over everything
Generated clips often carry different amounts of noise and texture. After grading, put a single film grain layer on the adjustment layer above the scene at low opacity. A shared grain unifies surface texture across clips in a way colour alone cannot, and it hides small differences in sharpness between generations.
What you should see
Before: six clips with different shadow tints, a skin tone that shifts at every cut, and a scene that reads as a montage of attempts. After: shadows sit at the same level and colour, skin stays on the same line of the vectorscope, and the cuts stop drawing attention to themselves. Play the scene once with the sound off. If you stop noticing the cuts, the grade is done.
Try this on your next scene before you regenerate anything. Pick the reference frame, run the five steps in order on the two clips that disagree most, and see how many of the other shots you still feel the need to redo.