How to deliver one AI film in 16:9, 9:16 and 1:1 without regenerating anything
Compose every shot with a protected centre column and caption zone, then reframe one master into vertical and square cuts in under an hour.
You finish a 16:9 film you are proud of, post it to a vertical feed, and it dies. Someone has centre-cropped it automatically, and now every two-shot is two half-faces, every wide has lost its subject to the edge, and the captions you burned in at the bottom are sitting under the platform's own interface buttons. The film was not bad. It was delivered for a screen your audience was not holding.
The obvious fix is to regenerate everything in 9:16, which doubles your credit spend and gives you two films that do not match. The better fix is to plan the master so it can be reframed, then cut each platform version from the same footage. That decision is made at prompt time, not in the export dialogue.
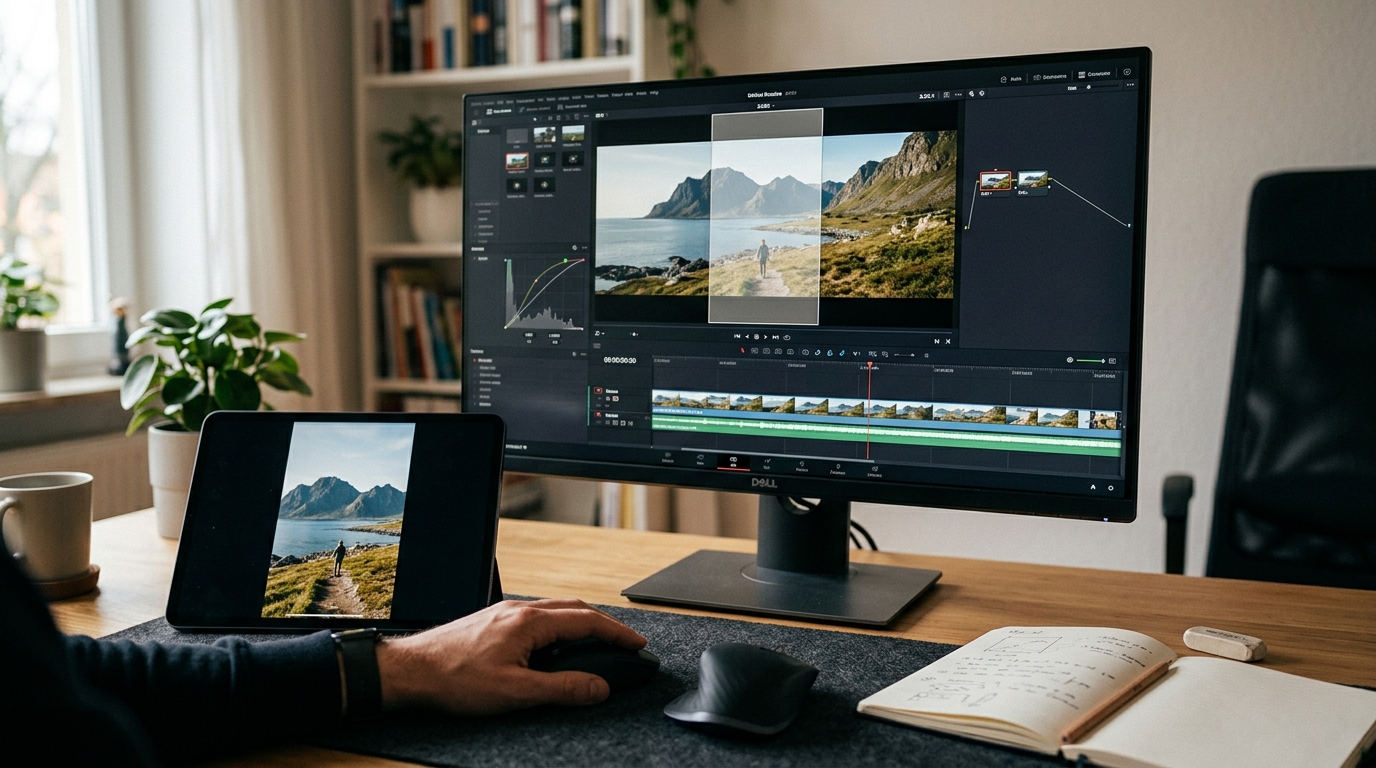
Compose for a protected centre column
A 9:16 crop taken from a 16:9 frame keeps roughly the middle third of the width. Anything that matters has to live there. Put this in your shot planning, shot by shot, before you generate.
Add a line to the end of your prompts that controls placement:
```
Subject centred in frame with clear space either side,
face and hands within the middle third of the frame,
background detail spread toward the edges,
no important action at the left or right edge
```
This works as a compositional instruction on current video models. Check the first generation against a simple overlay: draw a rectangle on your timeline in a nested sequence that is one third of the frame width and centred. If the face or the key prop leaves that rectangle at any point in the clip, the shot will not survive the vertical crop.
Build the reframe in your edit, not at export
Do not rely on an automatic reframe tool to find your subject. Set up three sequences from the same bin:
1. Master, 16:9 at 3840 by 2160 if you upscaled, 1920 by 1080 if not. This is your finished cut.
2. Vertical, 9:16 at 1080 by 1920. Nest the master inside it and scale to fit the height. Then keyframe the horizontal position per shot so the subject sits where you want it.
3. Square, 1:1 at 1080 by 1080. Same method, scaled to fit the height, with a wider usable crop than vertical.
For each shot in the vertical sequence, set one position value and leave it. Static reframes look intentional. Constant automatic tracking looks like a security camera. Only keyframe a pan inside a shot when the original footage has a pan you want to follow.
If your master is 1080p, a 9:16 crop that fills the height is fine, since you are scaling to height and discarding width. If you punch in further to tighten a wide shot, upscale that clip first or the vertical version will look soft on a phone.
Treat captions and the interface zone as a separate layer
Vertical platforms cover the bottom fifth and the right edge of the frame with buttons, usernames and descriptions. Keep captions inside a box that starts about a fifth of the way down from the top and ends about a quarter of the way up from the bottom, and keep them off the right edge.
Build captions once as a template at each aspect ratio. Use a different caption position in the 16:9 master, where lower third is correct, and a higher, larger caption in 9:16. Keep line length to roughly four to six words in vertical, since the narrow column forces short lines anyway.
What you should see
Before: a centre-cropped master with decapitated wides, edge-of-frame action cut in half, and captions hidden behind interface controls. After: three deliverables from one set of generations, each with its subject sitting in the same place a viewer's eye lands, and captions that read on the device they were made for.
Open your current project, add the centre-third rectangle to one finished scene, and scrub through it. Note every shot that fails, and regenerate only those with the placement line added.