How to match AI clips from different generations into one grade with a reference frame
Every AI generation drifts a little in white balance, contrast and saturation. Pick one hero frame, match every clip to it on scopes, and the scene stops looking like a playlist.
You cut two clips together from the same scene, same prompt, same character, and the join is obvious. The first has a slightly warm cast and soft blacks. The second is cooler, punchier, and the skin has shifted a half step toward green. Neither clip is wrong on its own. Together they look like two different cameras, two different days, and two different film stocks.
This is what generation drift does. Even with a locked prompt, each take lands with its own white balance, contrast curve and saturation. Grading each clip by eye, one after another, makes it worse, because your eye adapts to whatever is on screen and you chase a moving target. The fix is to stop judging clips against each other and judge all of them against one fixed reference.
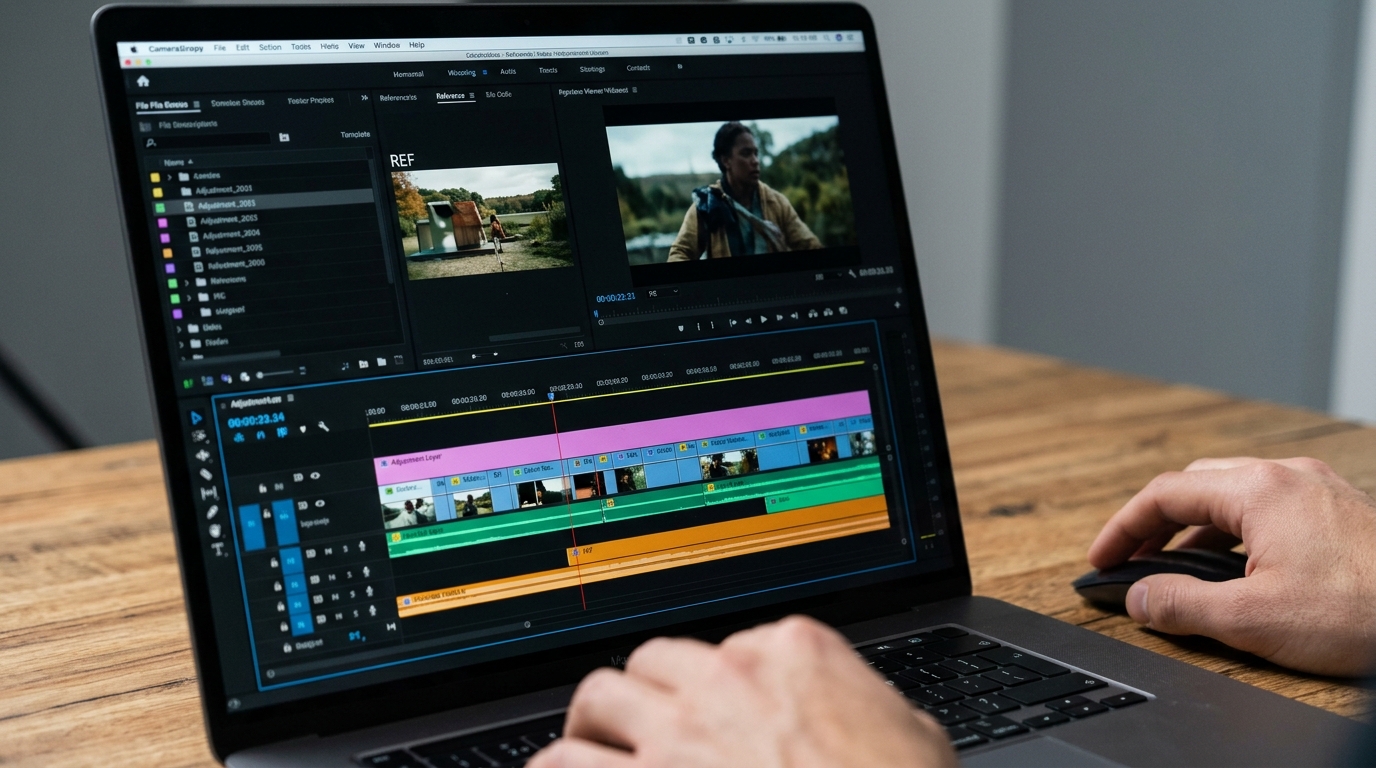
Pick a reference frame, not a reference clip
Scrub through your best takes for the scene and choose one single frame. Pick a frame with a face or skin tone in it, a neutral object such as a wall or a white shirt, and both shadows and highlights visible. Export it as a still and put it on the timeline above your clips, or in a split-screen reference window if your editor has one.
This frame is the law for the scene. Do not choose it because it is the prettiest. Choose it because it has the most information to match against. A frame that is slightly flat is better than a punchy one, because it is easier to push other clips toward flat than to pull a crushed clip back.
Match on scopes in a fixed order
Open your waveform and vectorscope. Most editors have both, including DaVinci Resolve, Premiere and Final Cut. Work through each clip in this order:
```
1. Exposure: set the mid-grey and black point so the waveform
sits in the same range as the reference frame.
2. Contrast: match the gap between the darkest and brightest
parts of the waveform. Adjust contrast or lift/gain.
3. White balance: find your neutral object and pull it so the
vectorscope trace sits on the same axis as the reference.
4. Skin tone: check the skin line on the vectorscope. The trace
should point toward the same diagonal on every clip.
5. Saturation: match the length of the vectorscope trace last.
```
Do it in that order every time. Exposure first matters because white balance reads wrongly on an under or over exposed image, and saturation matched too early gets undone by every later move.
Use a node or adjustment layer for the scene look
Once each clip is balanced to the reference, group them and apply one shared look on top: a single curve, a single tint, a touch of grain. In Resolve this is a group post-clip node. In Premiere it is an adjustment layer above the scene. This is what unifies the footage. The per-clip corrections only bring everything to the same starting point. The shared layer makes it feel shot by one camera.
Add the same light film grain to the whole scene as well. AI clips often carry different amounts of smoothness, and a consistent grain layer hides the gap.
What you should see
Before: you cut from clip A to clip B and notice the colour change before you notice the performance. Skin flips between warm and sallow, and the blacks jump.
After: you can play the scene at full screen and the cuts read as cuts of action, not cuts of image quality. Flick between the reference still and any clip in the scene and the skin, the neutral object and the darkest shadow all sit in the same place on the scopes.
Try next
Take your current scene, export one reference frame, and match just three clips to it on the scopes in the order above. Time how long it takes. Then apply a shared look layer and watch the whole sequence once without stopping.