How to build a sound design layer that makes your AI film feel real
Most AI films are let down not by the visuals but by thin, unconvincing sound. Here is a practical method for building a world-class sound layer from scratch, using only tools a solo creator can access in one sitting.
Your AI visuals might be genuinely impressive. The camera moves feel considered, the lighting holds up, and the edit has rhythm. Then you watch it back with the sound on and something collapses. A synth pad swells underneath everything, footsteps are missing, the room has no air, and the dialogue sounds like it was recorded inside a filing cabinet. The viewer does not consciously list these problems, but they feel them, and the film shrinks in their estimation within the first ten seconds.
This is the most common and most fixable gap in AI filmmaking right now. Sound is not a finishing touch you apply after picture lock. It is a structural layer you build in parallel, and the habits that separate a professional-sounding AI film from a hobbyist one are mostly about architecture, not expensive tools. What follows is a method you can run through in a single sitting, even if your timeline is only two minutes long.
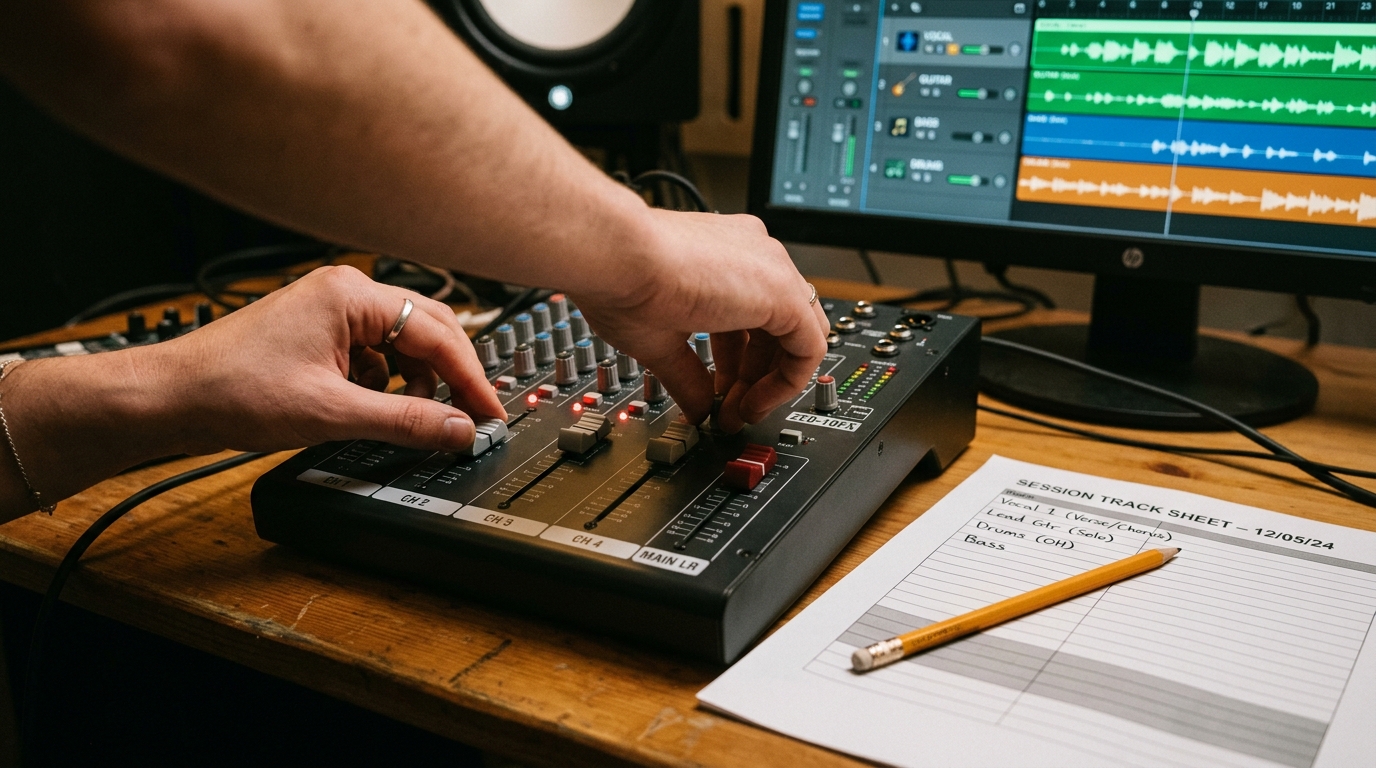
Understand the four layers before you open any audio tool
Every convincing film soundtrack is built from four distinct layers: ambience, hard effects, Foley, and music. AI filmmakers habitually collapse all four into one: a music track with some ambient sound underneath. The result is that the world feels unpopulated and the cuts feel arbitrary. Before you touch a fader, name each layer separately in your editing timeline. Give each its own track, colour-coded. This is not pedantry. When you can see the layers, you can hear what is missing.
- Ambience is the continuous acoustic signature of a place: wind through a window, the hum of a server room, the specific quality of silence in a forest.
- Hard effects are discrete sounds tied to on-screen events: a door closing, a glass set down on a table, a car passing.
- Foley is the human physical layer: footsteps, cloth movement, breathing. These are almost always absent from AI films and their absence is what makes characters feel like ghosts.
- Music sits on top. When the layers below it are working, music needs to do far less heavy lifting.
Build your ambience first, not last
Most editors add ambience at the end, once everything else is in. Do the opposite. Drop your ambience track first, loop it under the whole scene, and then edit everything else against it. When ambience is present from the start, hard effects and Foley snap into a believable acoustic context automatically. You start to hear what is missing because the room sounds real but feels empty.
For sourcing ambience, Freesound.org and BBC Sound Effects both offer high-quality, searchable libraries under open licences. Search by location and quality descriptor, not mood. Search `office air conditioning low hum`, not `corporate atmosphere`. The more specific your search, the more specific the result, and specificity is what sells a space.
Place hard effects on every cut
A hard effect at a cut point is one of the oldest editorial tricks in professional sound design. When a cut lands on the same frame as a sound event, the visual discontinuity is absorbed by the ear. For AI footage, which often has subtle texture inconsistencies between shots, this is genuinely useful: a footstep, a door latch, or even a distant vehicle can make a problematic cut invisible.
Work through your cut points one by one. For each cut, ask: what would make a sound in this location at this moment? Then find it and place it within two to four frames of the cut. You do not need it to be perfect. You need it to be present.
Add Foley even when you cannot see the character moving
This is the step most AI filmmakers skip entirely. Even in a static talking-head shot, a character breathes, shifts weight, and occasionally adjusts their clothing. A light breath track under a dialogue scene, mixed very quietly, is the single fastest way to make an AI-voiced character feel physically embodied. You can record these yourself: sit in front of your own microphone, breathe naturally for thirty seconds, and layer it under your character's lines. Normalise it to around minus 24 LUFS and blend it in. Nobody will hear it consciously. Everyone will feel the difference.
Mix to a target, not to taste
AI filmmakers almost always mix too loud. Music sits at the same level as dialogue, effects compete with both, and the result sounds like everything is shouting. Use a simple broadcast loudness target as your anchor:
```
Dialogue: -12 to -9 dBFS peak, -18 to -16 LUFS integrated
Music under dialogue: -6 dB below dialogue level
Ambience: -10 dB below dialogue level
Hard effects (foreground): match or slightly exceed dialogue peak on the frame they hit
Master output: -14 LUFS integrated (streaming standard)
```
If your editing software has a loudness meter, use it. If not, export to Auphonic, which will normalise your mix to a target loudness automatically. One pass through Auphonic at minus 14 LUFS integrated will do more for the perceived professionalism of your audio than any plugin you could buy.
The before and after
Before applying this method: music playing continuously, no room tone, no Foley, dialogue sounding isolated from its visual environment, cuts feeling arbitrary. After: the world has air in it, characters have physical weight, cuts land on sound events, and music only appears when the scene has earned it. The visuals have not changed at all. The film feels like a different object.
Take your most recent completed AI film, mute everything, and rebuild the sound using only these four layers. Start with thirty seconds of one scene. That is enough to feel the difference and carry the habit into your next project.