How to frame for the cut before you generate a single frame
Most AI filmmakers think about framing when they're writing prompts. The ones whose edits actually work think about framing when they're planning shots. Here's how to build that habit.
There is a gap between the shot you generated and the shot you needed, and it almost always opens at the editing stage. You write a prompt, the model delivers something that looks good in isolation, and then you drop it into the timeline and realise the subject is centred when you needed them screen-left, or the camera is so close that you have nowhere to cut to, or the motion is heading in a direction that fights your next clip rather than leading into it. You regenerate. You burn credits. You compromise.
The problem is not the model. The problem is that framing decisions are being made after the fact, at the prompt-writing stage, without reference to what surrounds the shot in the edit. Real cinematographers work from a shot list that specifies not just what is in frame but where it sits, what the camera is doing relative to the subject, and how the outgoing motion of one shot sets up the incoming motion of the next. That thinking translates directly and practically into AI video production, and adopting it will save you more regenerations than any prompt technique.
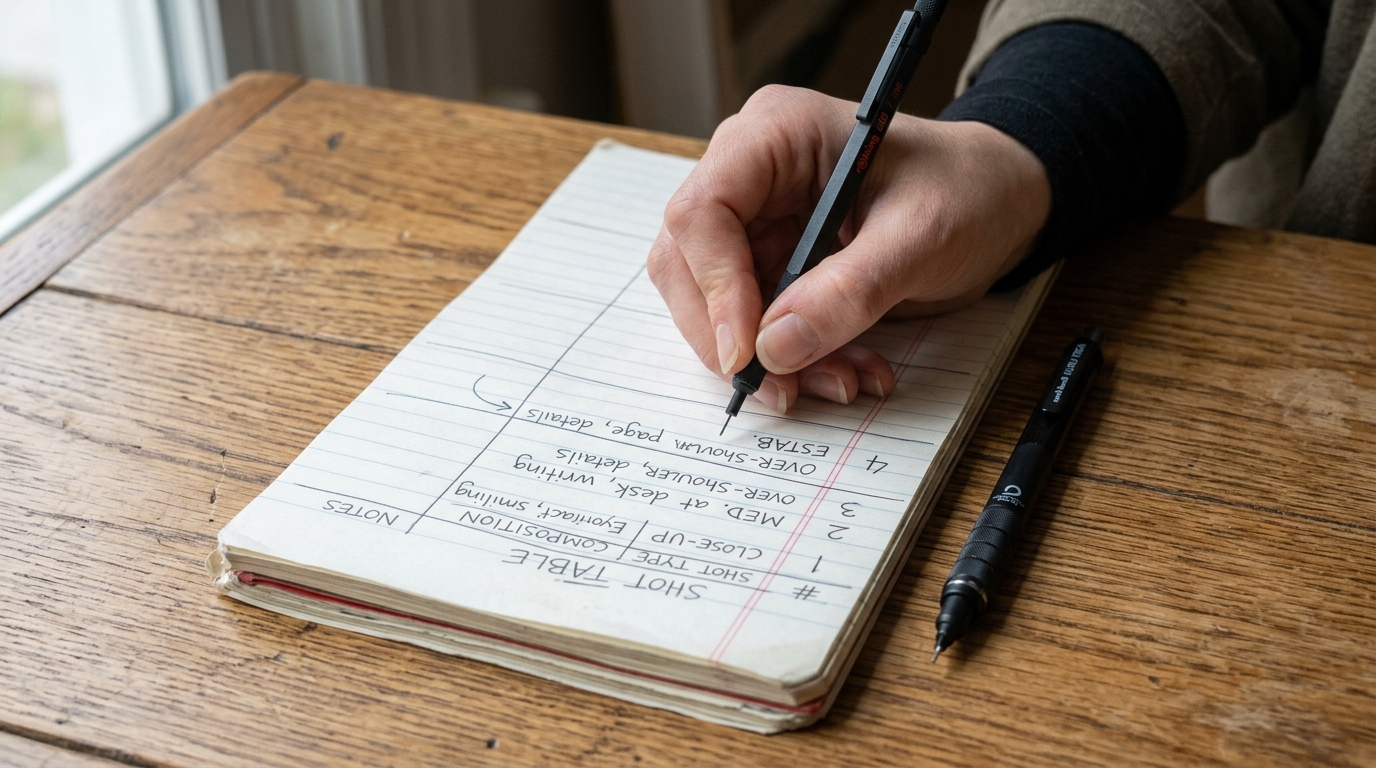
Start with the edit structure, not the shot
Before you write a single prompt, write a rough cut order. It does not need to be a full script. It needs to be a numbered list of what the audience sees in sequence, annotated with three things: screen position of the subject, direction of motion, and whether the shot is static or moving. A simple table works well.
```
Shot 01 | Wide exterior, street level | Subject walks left-to-right | Camera static
Shot 02 | Medium, eye level | Subject stops, looks at camera | Camera static
Shot 03 | Close-up, face | No movement | Slow push in
Shot 04 | Insert, hands | Object placed on surface | Static
Shot 05 | Wide exterior | Subject exits frame right | Camera pans right
```
This table is not a prompt. It is a continuity map. It tells you, before you generate anything, that shots 01 and 05 need left-to-right motion, that shots 02 and 03 need to feel locked off enough to cut together without a jump, and that shot 03's push-in needs to be gentle or it will feel like a different scene when you cut to the static insert on 04.
Translate each row into a framing brief, then a prompt
For each shot in your table, write a one-sentence framing brief before you write the prompt. The brief captures the visual grammar. The prompt captures the content.
```
Framing brief: Subject occupies left third of frame, right two-thirds open space, camera at hip height, no camera movement.
Prompt: A woman in a grey coat stands at a rain-wet pavement edge, slight breeze in her hair, overcast afternoon light, she occupies the left third of the frame, static camera, medium shot, 35mm lens perspective.
```
Notice the framing brief information is folded directly into the prompt. The brief is not a separate document you ignore later. It is the first draft of your prompt's spatial instructions. Subject position, camera height, lens character, motion state: all of these should be in the prompt text, not assumed.
The four framing variables that govern cut compatibility
When you are reviewing generated footage before committing to a clip, check these four things. If any of them conflict with adjacent shots in your cut list, decide then whether to regenerate or reorder, not in the edit.
Screen direction. A subject moving left-to-right in one shot should not suddenly move right-to-left in the next without a neutral shot between them. AI models will happily generate either direction. You have to specify.
Eyeline height. A cut from a high-angle shot to a low-angle shot reads as a power shift. If that is not your intention, keep your camera height consistent across a sequence. State it in the prompt: `camera at eye level`, `slightly elevated angle looking down`, `low angle looking up`.
Headroom and lead room. If your subject is centre-frame in every shot, your edit will feel static and airless. Build variety into the table: some shots tight with minimal headroom for intensity, some shots with lead room ahead of the subject's gaze for space and tension. Specify this with subject position language: `subject in right third, looking left into open frame`.
Outgoing motion. The last half-second of a clip determines how the cut lands. If a camera move is still accelerating at the end of your clip, the cut will jar. Look for clips where the motion is settling. If you are generating a pan or push, prompt for a move that `begins slow, holds, and eases to stillness` rather than a move that runs continuously through the clip.
The before and after
Without this process, you make framing decisions reactively: you generate, you cut, you notice the problem, you go back. With it, you generate with a specific spatial intention for each shot, you compare the output against your continuity map before adding it to the timeline, and you catch conflicts early when regenerating one shot is cheap. The edit becomes faster because the footage was planned to fit together, not trimmed to survive each other.
Take your next scene and write the continuity table first. Do not open a generation tool until every row has a screen-direction annotation and a camera height note. See how many fewer takes you need.