Why your AI film sounds amateur (and the four-layer fix that changes it)
Visuals from current AI models can look genuinely cinematic, but the moment your film plays sound, the illusion collapses. Here is a concrete layering method that makes AI-generated footage sound like it was shot on a real production.
You have spent an afternoon generating shots that genuinely hold up. The framing is considered, the motion is smooth enough, and the colour grade is doing its job. Then you drop the sequence into your editor, hit play with the audio on, and something deflates. The problem is almost never the music. It is the absence of everything underneath the music, the acoustic emptiness that tells a viewer's ear that what they are watching was assembled rather than filmed.
AI video models produce visuals with zero embedded sound, and that silence is deceptive. It feels like a blank canvas, but it is actually a trap. Creators fill it with a single music track and call it done, and the result sounds like a slideshow. Professional film sound is not one layer. It is at minimum four, and understanding what each layer is doing, and why the ear needs all of them simultaneously, is the single highest-return audio skill a solo AI filmmaker can develop right now.
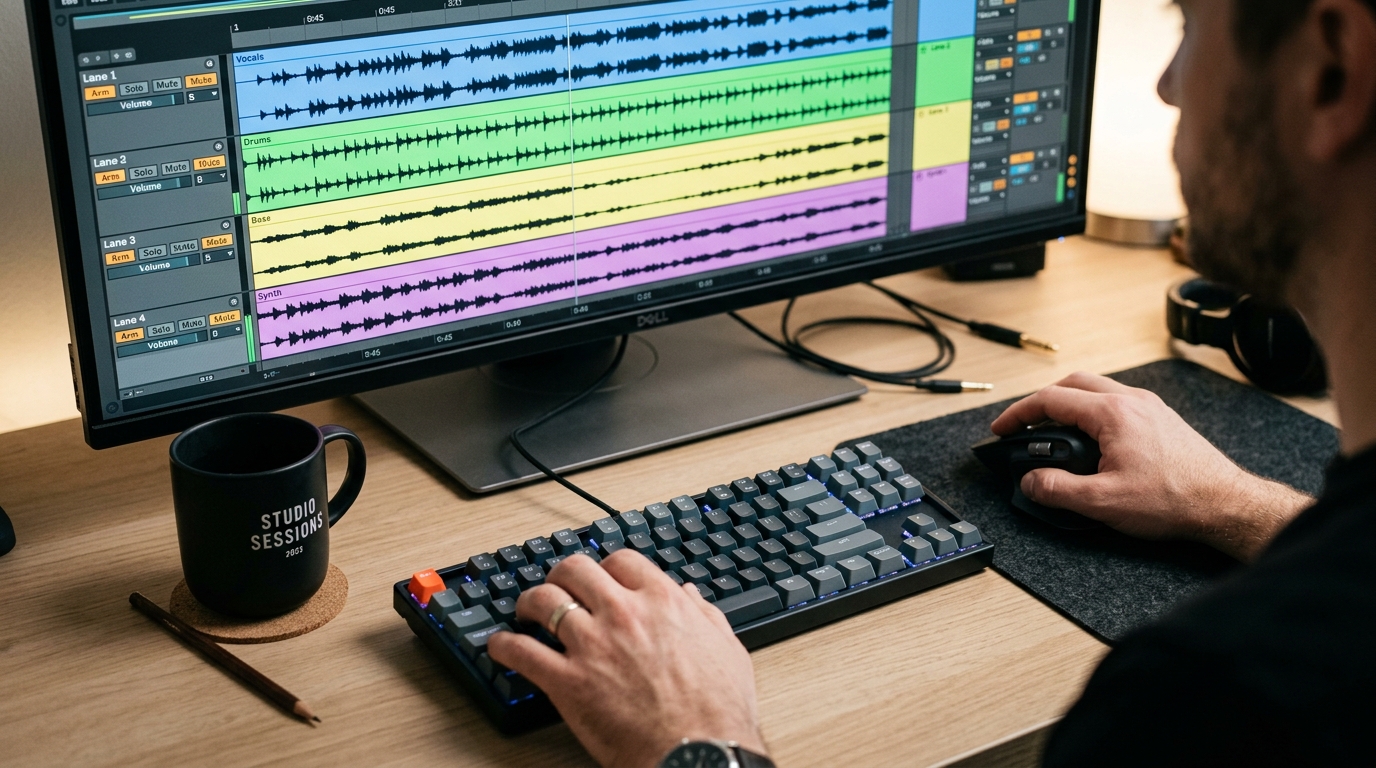
The four layers and what each one does
Layer one: ambience (also called room tone or atmos)
This is the continuous background sound of a space. An interior has HVAC hum, distant traffic, the faint acoustic signature of a room. An exterior has wind, birds, road noise at the horizon. Without this layer, every cut feels like a jump into a vacuum. Your ambience does not need to be loud. A level of around -30 dBFS is usually enough. What it needs to do is be consistent within a scene so that cuts feel spatially continuous.
Free sources: BBC Sound Effects Library, Freesound.org (filtered to Creative Commons Zero), Pixabay Audio. Download two or three candidates per scene and pick whichever sits most naturally under your dialogue or action without drawing attention to itself.
Layer two: hard effects (SFX)
These are sounds locked to specific on-screen events: a door closing, footsteps, a glass being set down, a vehicle passing. AI footage often implies these events visually without providing them acoustically. Go through your timeline and list every implied physical action. Then source or record a matching sound for each one. Foley artists call this process "spotting", and doing even a rough version of it is transformative.
For footsteps specifically: match surface, shoe type, and pace. A wrong footstep sound is worse than no footstep sound because it actively contradicts what the eye sees.
Layer three: presence (character-specific room sound)
If you have dialogue, whether AI-generated voice or recorded, it needs to sound like it exists in the same acoustic space as the visuals. A voice recorded or generated in a neutral environment dropped onto footage of a large stone interior will sound pasted on. Apply a convolution reverb using an impulse response that matches your scene's implied space. Most DAWs and some NLEs include a convolution reverb. Free impulse response libraries (Open Air is a reliable one) give you cathedrals, offices, stairwells, and car interiors.
Keep the reverb mix subtle: 15 to 25 percent wet is usually sufficient. The goal is not audible reverb. The goal is for the voice to stop sounding like it is floating in front of the picture.
Layer four: music
Music goes in last, not first. When creators start with music and build everything around it, the music does too much work and the other three layers never get proper attention. Start your mix with ambience, SFX, and presence established. Then bring the music in at a level where it supports but does not mask the other layers. A useful rule: if your ambience disappears completely under the music, your music is too loud.
A simple spotting session workflow
```
1. Export a silent picture lock of your sequence (no music, no SFX).
2. Watch it once through and make a written list of every implied sound event, timestamped.
3. Group the list: ATMOS / HARD SFX / VOICE TREATMENT.
4. Source or record each item before touching levels.
5. Build the mix in order: atmos > hard SFX > voice treatment > music.
6. Final check: listen on laptop speakers. If it holds up there, it will hold up everywhere.
```
What the before and after actually sounds like
Before: music playing over silence, voices that seem to exist in no particular space, cuts that feel arbitrary because the acoustic environment resets at each one.
After: the viewer is not thinking about sound at all, which is the correct outcome. The acoustic environment makes the space feel inhabited. Cuts feel motivated because the ambience continues underneath them. Dialogue feels like it belongs to the person on screen, in the room on screen.
The four-layer method does not require a professional studio or expensive software. It requires one focused session per scene and the discipline to do the layers in order. Start with your next completed sequence and run the spotting list before you touch the music track.