How to make AI dialogue sit inside the scene instead of floating on top of it
Clean synthetic voice lines sound pasted on because they carry no room. Here is a four-step chain to place dialogue inside the space your picture shows.
You have a good shot and a good line reading, and when you put them together something is off. The voice sounds like it was recorded in a wardrobe while the picture shows a concrete stairwell. Generated voice and lipsync output usually arrives dry, evenly levelled and free of any sense of space, which is the opposite of how a real location recording behaves. Your ear catches the mismatch before your eye does.
The fix is not a better voice. It is treating the dialogue stem the way a dialogue editor treats a recording from a production sound mixer: match it to the space, then bury the joins. You can do all of it in any editor with a basic EQ, a reverb send and a few audio tracks. It takes about forty minutes for a one-minute scene.
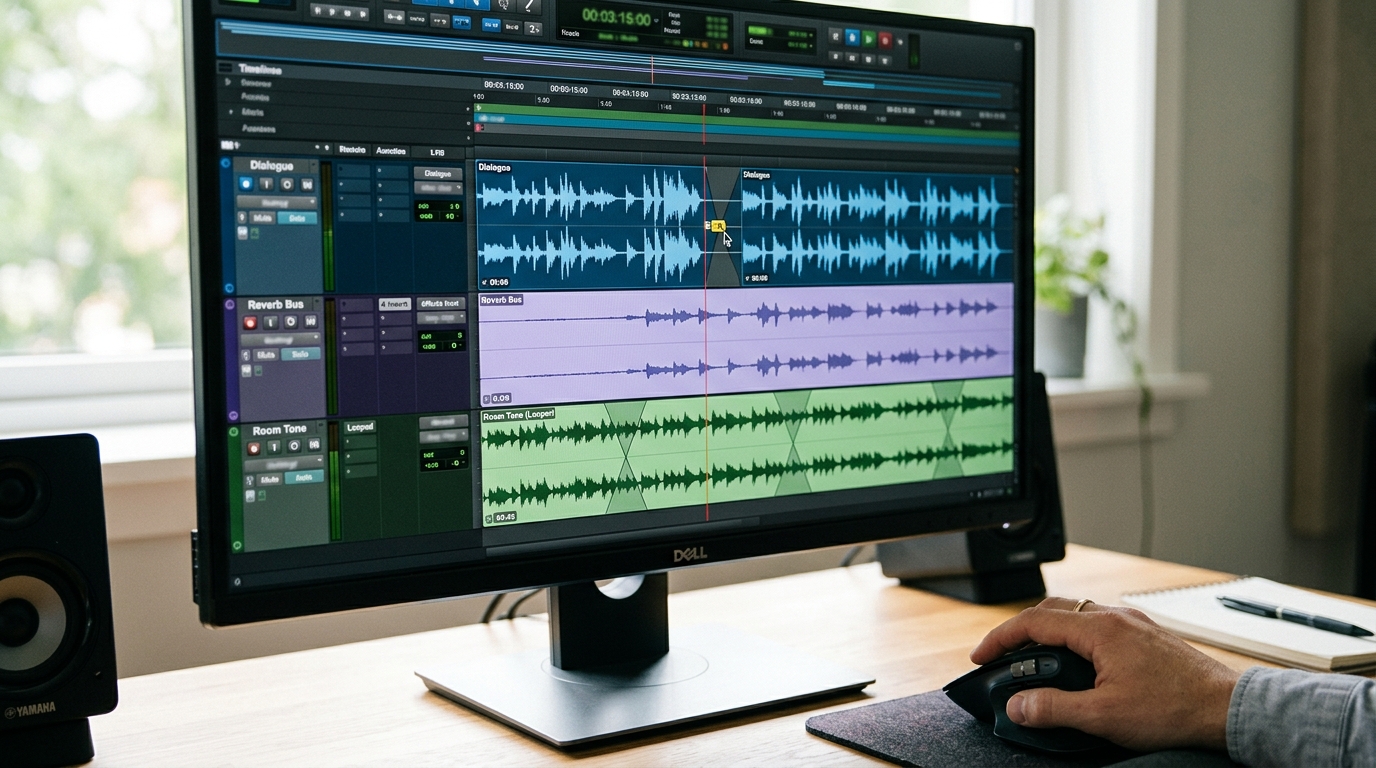
Step 1: Decide the room before you touch a plugin
Look at the shot and write one line about the space: size, surfaces, distance from camera. A stairwell is hard, long and bright. A bedroom with a duvet is soft and short. A car interior is tiny and dead. That single line drives every setting below.
```
Shot 14: medium close, stairwell, concrete walls,
speaker 2m from camera.
Reverb: short-medium plate, 0.9s decay, pre-delay 20ms.
EQ: high-pass 90Hz, small dip at 3kHz, gentle shelf off above 11kHz.
```
Step 2: Strip the studio sheen
Generated voices often carry extra low end and a bright top that real mics at distance would not capture. High-pass at 80 to 100Hz. If the speaker is across the room, roll the top off from around 10kHz and pull the level down 2 to 3dB. A wide shot should sound further away than a close-up of the same line. Change the EQ between the two cuts, not just the volume.
Step 3: Add the room as a send, not on the clip
Put reverb on a separate bus and feed each dialogue clip into it by a different amount. Close-ups get a low send, wides get a higher one. Keep the dry signal dominant. If you can hear the reverb as an effect, pull it back until you only notice it when you mute it.
Step 4: Lay room tone under every line
This is the step most people skip and the one that matters most. Take ten seconds of ambience that matches the location (generate it, record it, or pull it from a library) and loop it continuously underneath the whole scene, dialogue and silence alike. Cross-fade the loop so the join is inaudible. Now when the voice stops, the room does not vanish, and the cuts between lines stop sounding like the audio is being switched on and off.
While you are in there, cut the breaths. Generated lines often have identical, evenly spaced breaths. Delete half of them, and nudge the line starts by a few frames so the rhythm of the pauses varies the way a real performance does.
What you should hear
Before: each line starts from absolute silence, sounds equally close in every shot and has the same tonal sheen. After: the ambience carries across cuts, the wide sounds like a wide, and the voice appears to be reflecting off the walls you can see. Play the scene with your eyes closed. You should be able to say what kind of room it is.
Try this next
Pick one finished scene with dialogue. Write the one-line room description for each shot, build a single reverb bus, and lay a continuous room tone track under the whole thing. Do those two things only, then compare against your old mix.