How to colour grade AI footage that refuses to match
AI video clips from the same prompt can look like they were shot on different days. Here is a practical grading workflow that brings them into the same world without flattening everything you generated.
One of the most reliable frustrations of cutting an AI film is sitting in your edit and realising that two clips you generated from nearly identical prompts look nothing alike. The first has a cool, slightly desaturated quality with lifted shadows. The second is warmer, the blacks are crushed, and the skin tones sit in a completely different range. You generated them minutes apart. You changed almost nothing. And now your sequence looks like a highlights reel from three different productions.
This is not a bug you can prompt your way out of entirely. Current video generation models sample colour response as part of their generative process, and that response shifts between clips even within the same session. Expecting consistency at the generation stage is the wrong bet. The correct move is to accept variance as a given and build a grading pass that pulls everything into a shared world at the edit stage. That is what professional colourists do with footage from mismatched cameras, and the discipline translates directly.
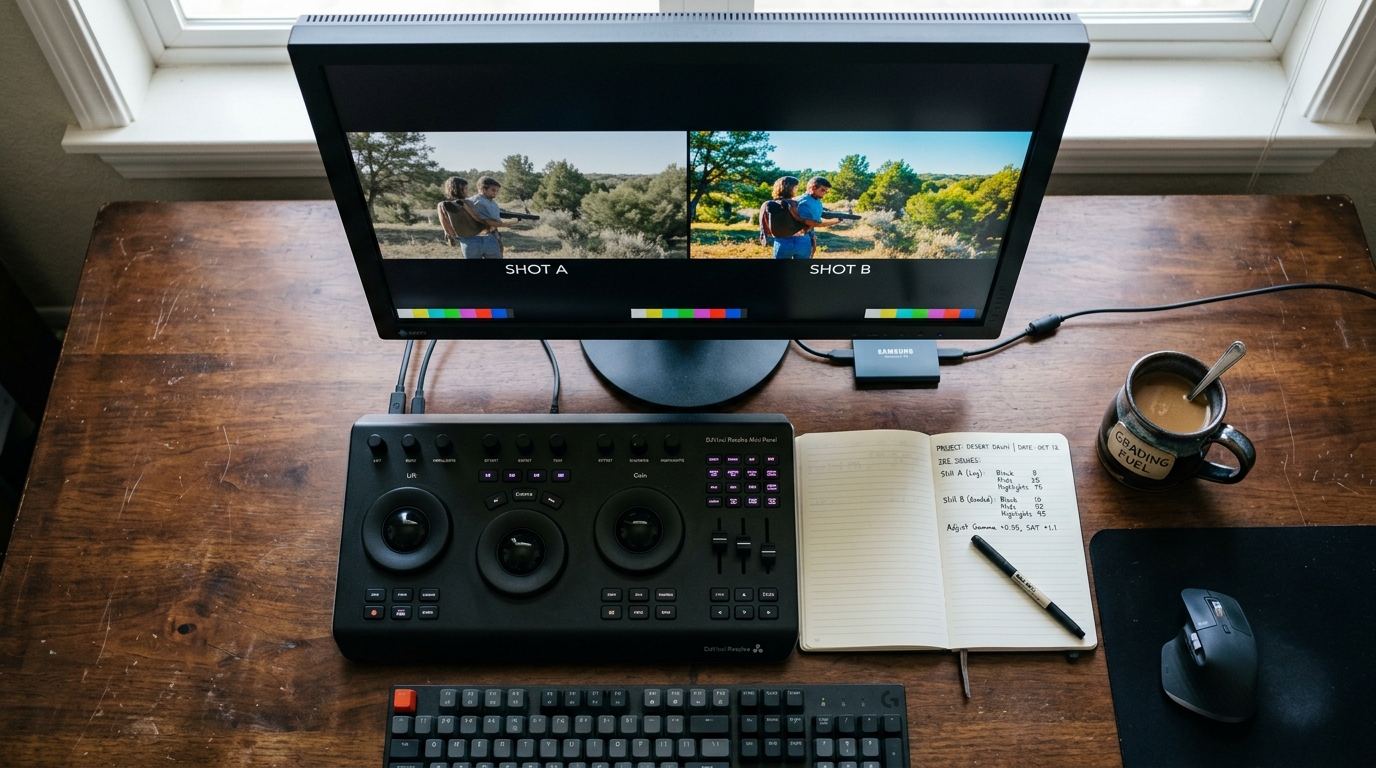
Set a reference clip first, before you touch anything
Before you open a single colour panel, pick one clip to be your reference. It should be the clip with the most important face or the widest shot that establishes your world. Do not pick it because it looks the best. Pick it because it carries the most story weight. Every other clip you grade will be measured against this one.
Park that clip on a dedicated monitor view or use a still-store grab in your grading tool. In DaVinci Resolve, hit Grab Still in the viewer right-click menu and keep it in your gallery. You will be comparing against it constantly.
Read the scopes, not your eyes
Your eyes adapt. After staring at a warm clip for ninety seconds, the next clip will look cool even if it is neutral. The waveform monitor and the vectorscope do not adapt. Use them.
For matching AI clips, the waveform is your primary tool. Check three things in sequence:
1. Lift (shadows): Where do the darkest values sit? If your reference has shadows at 10 IRE and the new clip has them at 4, raise the lift on the new clip until they match.
2. Luminance range: Where does the overall brightness land? AI clips often have very different gamma curves. Use the gamma or midtone control to push the new clip's midpoint to match the reference on the waveform, not by eye.
3. Highlights: Check that they land within a few IRE of each other. AI models sometimes clip highlights in ways that look fine on a laptop screen but fall apart on a calibrated display.
Only after the waveform matches do you touch the vectorscope to align colour balance. Look at where neutral grey or white values sit on the vectorscope. They should be close to centre. If they are pulling toward yellow-red, add a small correction toward blue-green in the neutrals. Be conservative: a shift of two or three points on the vectorscope reads as a significant change in the image.
A basic node order that works for AI footage
In Resolve, a three-node structure handles most AI matching work cleanly:
```
Node 1 (CST or Normalise): Bring the clip to a consistent baseline.
- If the clip looks like it has a baked-in LUT or heavy stylisation, use
a Colour Space Transform to normalise it toward Rec.709 before doing
anything else.
Node 2 (Primary Correction): Match luminance and colour to your reference.
- Lift / Gamma / Gain controls for luminance.
- Colour wheels or Log controls for balance.
- Check scopes after every adjustment, not before.
Node 3 (Creative Grade): Apply your chosen look.
- This node is identical or near-identical across all clips.
- Keep it on a shared node or group post-clip to apply it universally.
```
That third node being shared is the key. If you are chasing your creative look clip by clip, you will never finish. Lock the look at the group or timeline level, and use the first two nodes to make each clip ready to receive it.
Handling the specific artefacts AI colour produces
AI footage tends to produce a few recurring colour problems that standard matching does not fully resolve.
Colour blocking in gradients: Skies and skin in particular can show banding or chunky colour transitions. A very small amount of noise addition (0.5 to 1.5 in Resolve's blur/sharpen panel) breaks up blocking without visibly degrading the image.
Inconsistent skin tone hue: Use a qualifier to isolate skin tones and apply a small hue rotation to bring them onto the skin tone line on the vectorscope. Do this per-clip after your primary correction. It takes ninety seconds per shot and makes intercutting faces feel intentional.
Floating blacks between clips: AI models often handle shadow detail differently. If blacks feel milky in some clips and dense in others even after waveform matching, check whether the clip has a lifted pedestal and pull it down with a gentle S-curve rather than the lift wheel, which can shift colour as it moves.
What you should see after this pass
A sequence that felt like mismatched footage from different sources should now cut with the continuity of a single-camera shoot. Faces will sit in the same warmth range. Shadow density will feel consistent across cuts. The creative look applied at the group level will read as intentional rather than accidental. None of this requires the clips to be identical, only to feel like they belong in the same world.
The next thing to try: apply this workflow to just your dialogue cuts first, where face-to-face intercutting makes inconsistency most visible. Once those feel right, extend the grade outward to your wider shots and cutaways.